Classic Sourdough Bread made Easy
Classic Sourdough Bread made Easy – My recipe for classic sourdough bread which is a winner every time I bake it; and, it can be proved overnight in a cool place for early morning baking.

As most of my followers will have seen over the last three months, I have become a sourdough addict, or perhaps I should say a sourdough whore!

Every two to three days I liberate Sally, that’s my sourdough starter, from the fridge and revive her with a good feed.
This all started when I sent some sourdough starter from my good friend Elaine, over at Foodbod Sourdough….Elaine very kindly sent me some of her starter to use and review, and eh voila, I was instantly hooked.


Today’s recipe for Classic Sourdough Bread made Easy is based on Elaine’s master recipe, using the starter she sent me three months ago, but with some tweaks I have added for what works best for me.
I used Elaine’s brilliant recipe for several weeks, but as each kitchen is different, as in temperature, your oven and the flour you may use, today’s recipe evolved by me making amendments here and there, until I now feel confident enough to share the recipe, which has been tested multiple times and with great success.

What Pot to Bake Sourdough Bread In
I changed the cooking pot I bake my bread in, from enamel to cast iron, again, it just works better for me that way, but enamel may work better for you as it does for Elaine….it’s all trial and error.
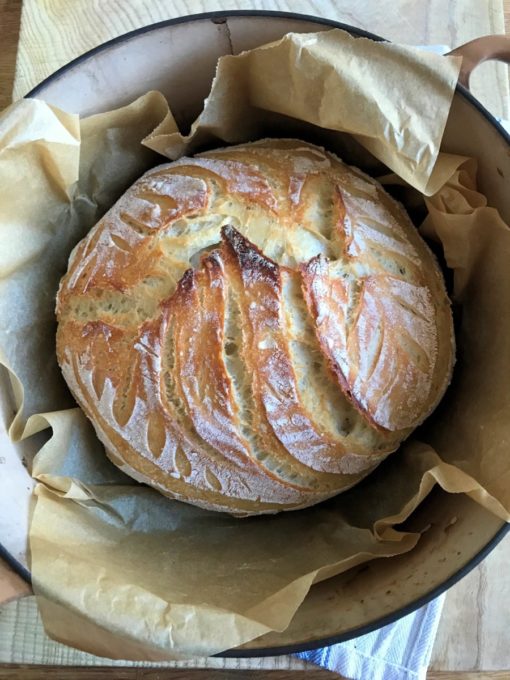
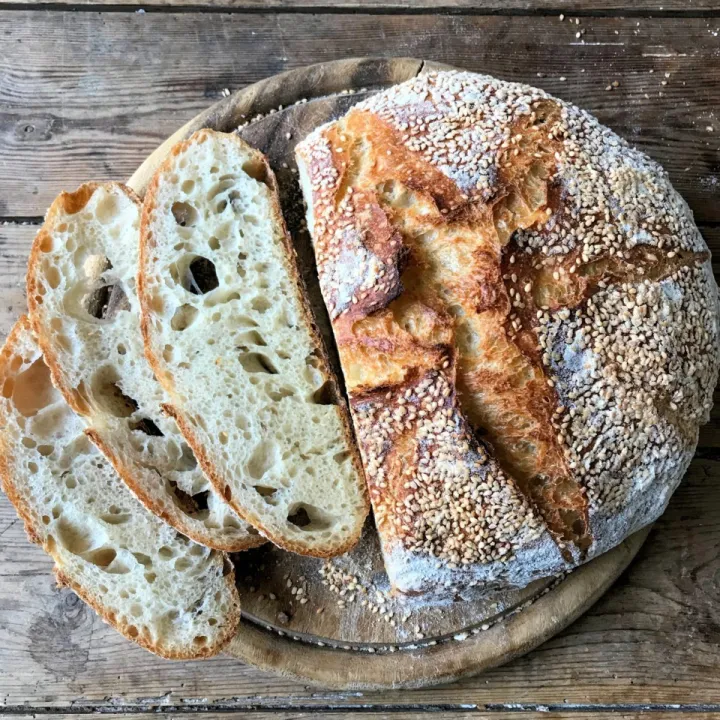
So, throughout this post you will see various sourdough loaves I have made, in enamel pots and cast iron pots.
But, the recipe I have shared below suggests you use a cast iron pot, as I do all the time now, AND always with the lid on during baking too.
As you can see from my photos, Sally the sourdough starter is a STAR, (which is what Elaine calls it) and continues to provide me with incredibly strong wild yeast to make my daily bread.
Benefits of Sourdough Bread
And, we (Malcolm my husband and I) both find that we can digest sourdough bread better, and we don’t feel so “bloated” after eating it as we often do with normal yeast raised bread.
It makes the most sublime toast and is a fabulous vehicle for sandwiches of all types. Cut a big wedge off the crusty end to go with soup, and you’re in sourdough heaven, similarly it makes fabulous croutons too.


How Easy Is Sourdough Bread?
I don’t profess to be an expert at sourdough bread, but it seems that I have the “touch” when it comes to this type of bread, and as an instinctive bread maker, the recipe I’ve shared below is tried and tested, and, it works.
I read somewhere, I’m not sure where, that when bread dough is proved long and slow, and in a cooler temperature, it has a better structure and texture.

And it’s true that since switching to proving the dough (in a banneton) overnight in a cool place, my bread structure has more of those sought after “sourdough holes”, with a chewy and pleasantly sour texture and taste, as well as a fabulous crusty crust.
I have yet to make a sourdough pizza or bread rolls, but both of those recipes are in the pipeline, so do keep popping back to see what my next wild yeast recipe is.

My Classic Sourdough Bread made Easy recipe is shared AT THE END OF THIS POST in a printable recipe format and please do let me know if you make it.
I will be back soon with some more sourdough ideas, as well as travel stories and new recipes. Once again, thanks to Elaine for sending me some of her starter that led me on this fascinating sourdough journey. Bye for now, Karen


Easy No-Knead Sourdough Bread
My recipe for an easy no-knead sourdough bread which is a winner every time I bake it; and it can be proved overnight in a cool place for early morning baking. It makes the most sublime toast and is a fabulous vehicle for sandwiches of all types. Cut a big wedge off the crusty end to go with soup, and you’re in sourdough heaven, similarly it makes fabulous croutons too.
Ingredients
- 60g recently fed sourdough starter
- 5g teaspoon sea salt
- 320ml tepid filtered water (or boiled water)
- 500g strong white bread flour
- Rice flour (for dusting)
Instructions
2 to 3 hours before you want to start your sourdough bread, take the starter out of the fridge and feed it with 40g filtered water and 40g strong white bread flour. Mix well, cover with cling film (or a shower cap) and set to one side to start working. After 2 to 3 hours the starter should be frothy and light with lots of bubbles and it may be making a noise, as in singing! It’s now ready to use. Put the covered starter back in the fridge until it is needed next time you want to bake.
Place a bowl onto some digital scales and set the tare to zero. Add 60g of sourdough starter and set the tare to zero again; then add the salt and water, again, I find it easier to set the tare to zero before adding the flour. Take the bowl off the scales and mix well, it will look rough and lumpy, but never fear it will soon start to look like bread dough! Cover the dough with cling film/shower cap and set to one side.
After an hour, uncover it and with your hands, bring the dough from the outside, and fold it into the middle. Do this for about 15 to 20 times – I find it is easier if I rotate the bowl at the same time. Cover it and set to one side.
Do the folding and turning action two or three more times over the next few hours, by this time the dough will be smooth, elastic and sticky. I start this at about 3pm to 4pm and the dough is ready at about 8pm to 9pm.
Once the dough is smooth and elastic (see above) and it will have risen by now too, take a 22cm (9″) to 24cm (10″) banetton basket and dust it with rice flour. Do one more set of folding actions with the dough and then place the ball of dough into the floured banneton basket. Easing the dough up around the sides, sprinkle some more flour around it and then sprinkle some over the top of of the dough. Cover with cling film/shower cap and set to one side in a cool place to prove overnight. (I use my pantry which is about 14 degrees C)
In the morning, the dough will have risen overnight and you will have a large, round ball of smooth dough that’s ready to bake. Pre-heat the oven to 230C/220C Fan/450F/425F Fan/Gas mark 8 and line a large 30cm (15″) cast iron casserole dish (Dutch oven) that has a lid, with grease-proof baking paper.
Uncover and invert the dough into the cast iron pot and then score the top with a lame or a razor blade. Place the lid on the pot and bake in the pre-heated oven for 50 minutes until the bread is well-risen, golden brown and with a crisp crust. NB: if you want a darker crust, take the lid off and bake for a further 5 to 10 minutes.
Carefully turn the loaf out onto a wire cooling rack and allow to cool for 1 hour before slicing it. Store it in the cooled cooking pot.
Notes
I have recently experimented with the cold oven method, and it works like a dream. At step 7, place the bread into the pot and into a cold oven, then set the temperature for 230C/450F/Gas mark 8 and bake for 1 hour. Again, if you want a darker crust, take the lid off and bake for a further 5 to 10 minutes extra.
Nutrition Information
Yield12 slices
Amount Per Serving

