Purple Sweet Potato Sourdough Bread
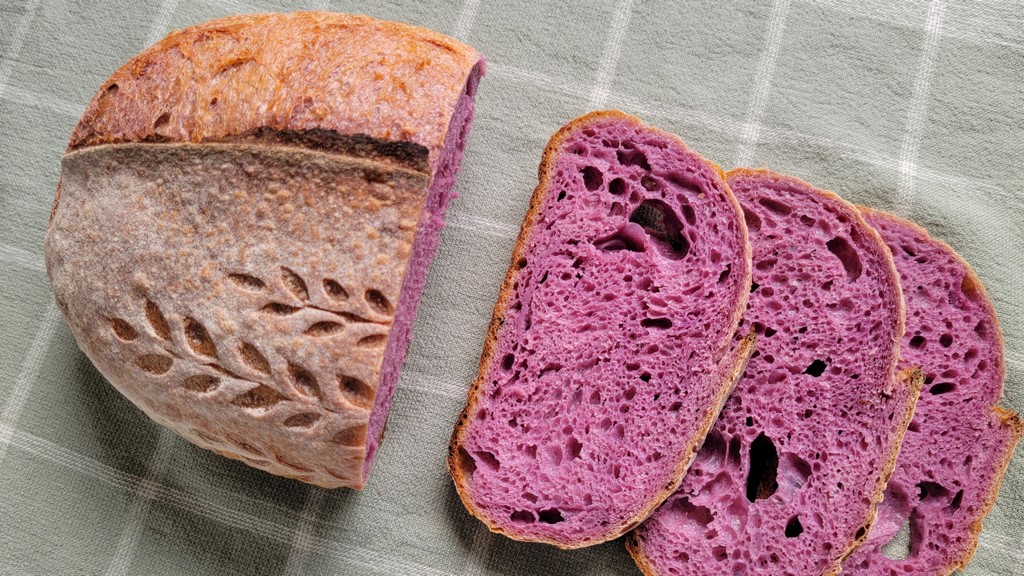
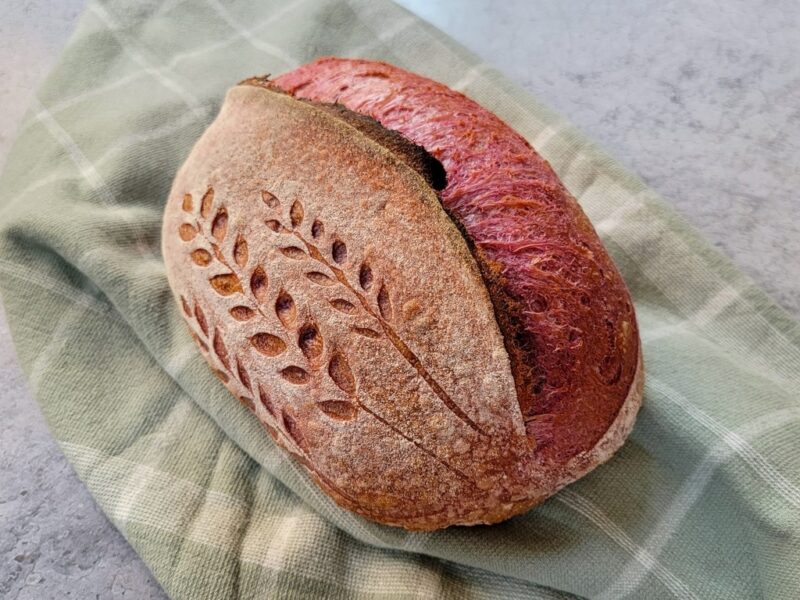
Adding purple sweet potato or ube to bread dough gives it a gorgeous color and a nutty, slightly sweet flavor. The crumb of this sourdough bread is quite moist but not gummy, and while the dough takes a little longer to bake, it is very slow to stale. Try this delicious eye-catching bread toasted or sliced fresh, for sandwiches or for dipping. If you have extra prepped sweet potato, you might also enjoy our recipe for Purple Sweet Potato Buns.
Ube is a purple yam that originated in Southeast Asia, and purple sweet potatoes are a varietal originally from Central America. Purple sweet potatoes are easier to find in grocery stores in the U.S., most likely between September and April. You can use either ube or purple sweet potato for this recipe, and this article explains more about their slight differences in texture, flavor, and nutrient composition. Note that both contain high levels of anthocyanins, an antioxidant also in blueberries, red cabbage, black rice and other deep purple plants.
Be sure to check out the Photo Gallery after the recipe for step-by-step pics.
Purple Sweet Potato Sourdough Bread
This vibrant purple sweet potato sourdough bread has a nutty sweet flavor with hints of vanilla and a soft moist crumb. The crumb of this sourdough bread is quite moist and it needs a little longer to bake than similar weight dough without mashed purple sweet potato, but the moisture also makes it very slow to stale. Try this delicious eye-catching bread toasted or sliced fresh, for sandwiches or for dipping.
Ingredients
- 390 grams bread flour (3 cups)
- 250 grams ube or purple sweet potato, cooked and peeled (~1 1/3 cups)
- 285 grams water (scant 1 1/4 cup)
- 75 grams sourdough starter (1/4 cup)
- 9 grams salt (1 1/2 tsp)
Instructions
Purple Sweet Potato / Ube Prep
- You can cook the purple sweet potato/ube how you prefer. I like to use an Instant Pot (IP) as follows: Poke some fork holes in 1-2 washed potatoes, place on the steam rack in the IP with 1 cup of water in the pot. Set to medium pressure for 15 minutes.
- After they have cooled, peel and mash thoroughly, using an immersion blender or ricer if desired, particularly if you’re using ube, which are a little more fibrous. Cover and refrigerate until you’re ready to make the dough.
Dough
- Combine all the ingredients in a large bowl and mix thoroughly. The dough will be sticky but should be stiff enough to lift as a whole with a bench knife or dough scraper and your other hand. If available, transfer the dough to a straight-walled bucket.
- Cover the dough and over the next 1-2 hours, do several rounds of gluten development (lamination, stretching and folding, coil folding, etc.) with 20-30 minute rests in between.
- Let the dough rise until it has expanded by about 75%. This could be 4-8 hours depending on temperature. In a 70F kitchen with refrigerated (cold) purple sweet potato in the mix, my dough rose for 6 hours.
- Scrape the dough out onto a floured work surface and preshape it into a boule. Cover and let rest about 20 minutes.
- Shape the dough to fit your preference and dust it and your proofing basket with flour. Place the dough seam-side up. Cover and let rise again for 1-2 hours at room temperature before baking. Alternatively, you can let the dough rise 20-40 minutes at room temperature, then refrigerate overnight (8-16 hours). If your kitchen and dough are hot, you might want to refrigerate the dough immediately; or if very cold, refrigerate after closer to 1 hour. If the dough is warm, you also have the option to place the dough in the freezer for 20 minutes to stiffen it during the oven preheat.
- My dough proofed 40 minutes at room temperature and 13 hours in the refrigerator.
Baking
- Flip the dough out of the proofing basket and onto a sheet of parchment paper or onto the base of your hot baking vessel. Score, cover, and return the vessel to the oven.
- 500°F for 20 minutes, lid on
- 450°F for 20 minutes, lid off
- If your baking vessel is cast iron, after 20 minutes place a baking sheet directly under the cast iron on the same shelf. This will prevent the base of the bread from burning.
- When baking is complete, the bread should have an internal temperature over 205F and it should sound hollow when you knock on the bottom of the loaf.
- Let the bread cool for a couple of hours before you slice it.
- Cooked purple sweet potato
- All-in mixing
- Heavy sticky dough
- ~75% expansion
- Blistery bench rest
- Start of final proof
- End of final proof
- Scored
- Relatively long bake


