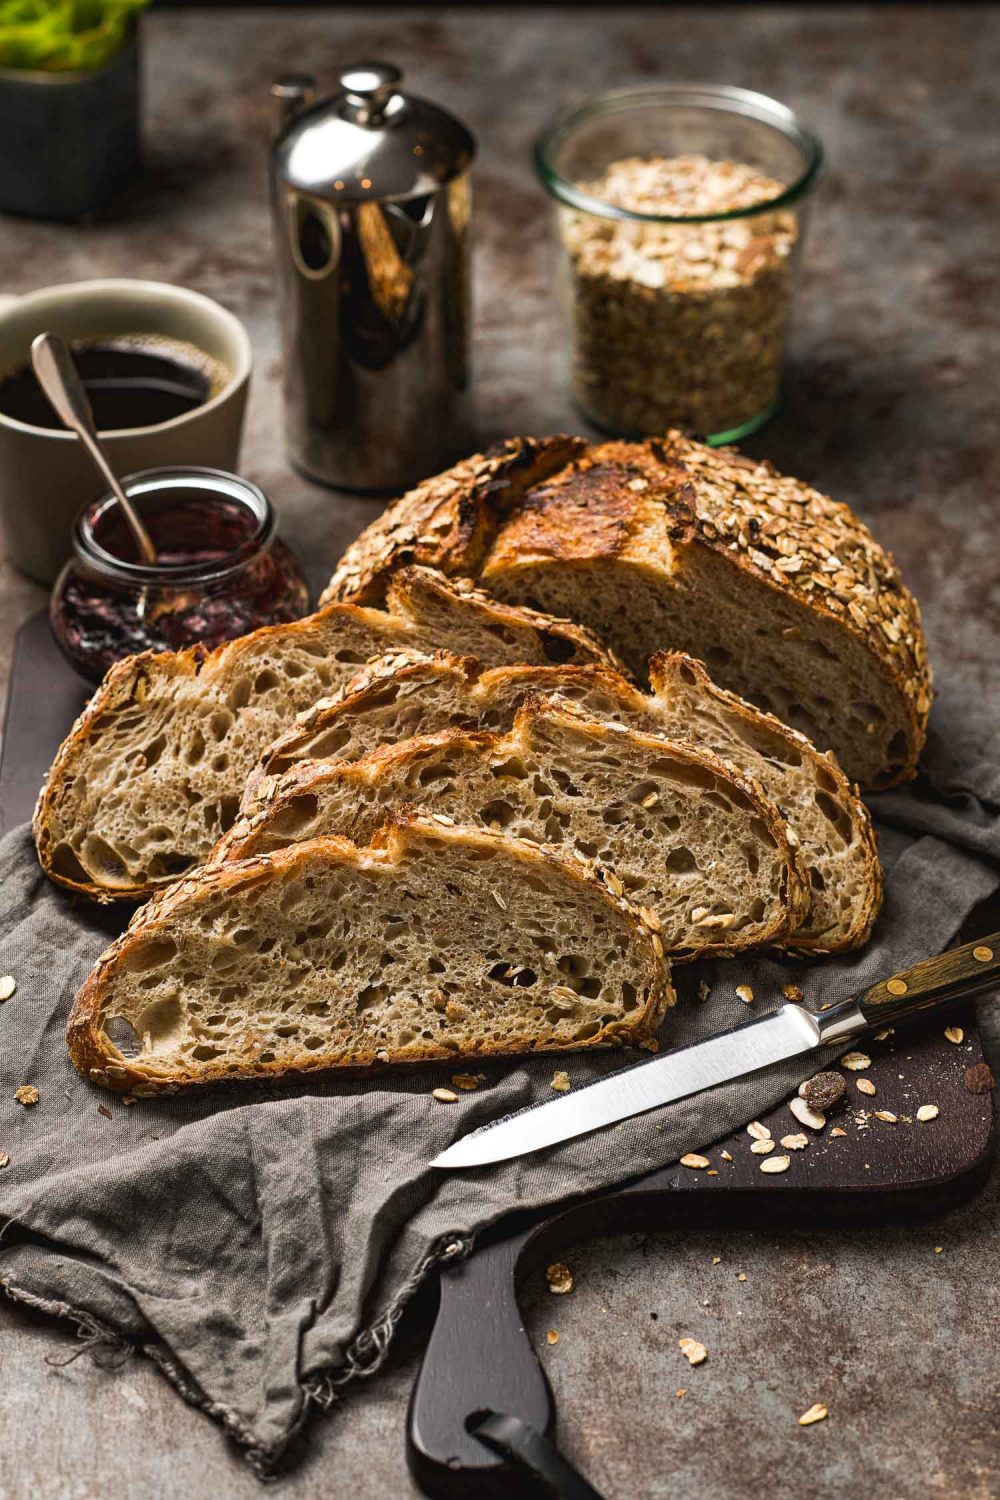
Muesli Sourdough Loaf
Adding muesli to a classic sourdough loaf improves its flavor and takes wholesome goodness to a new level.
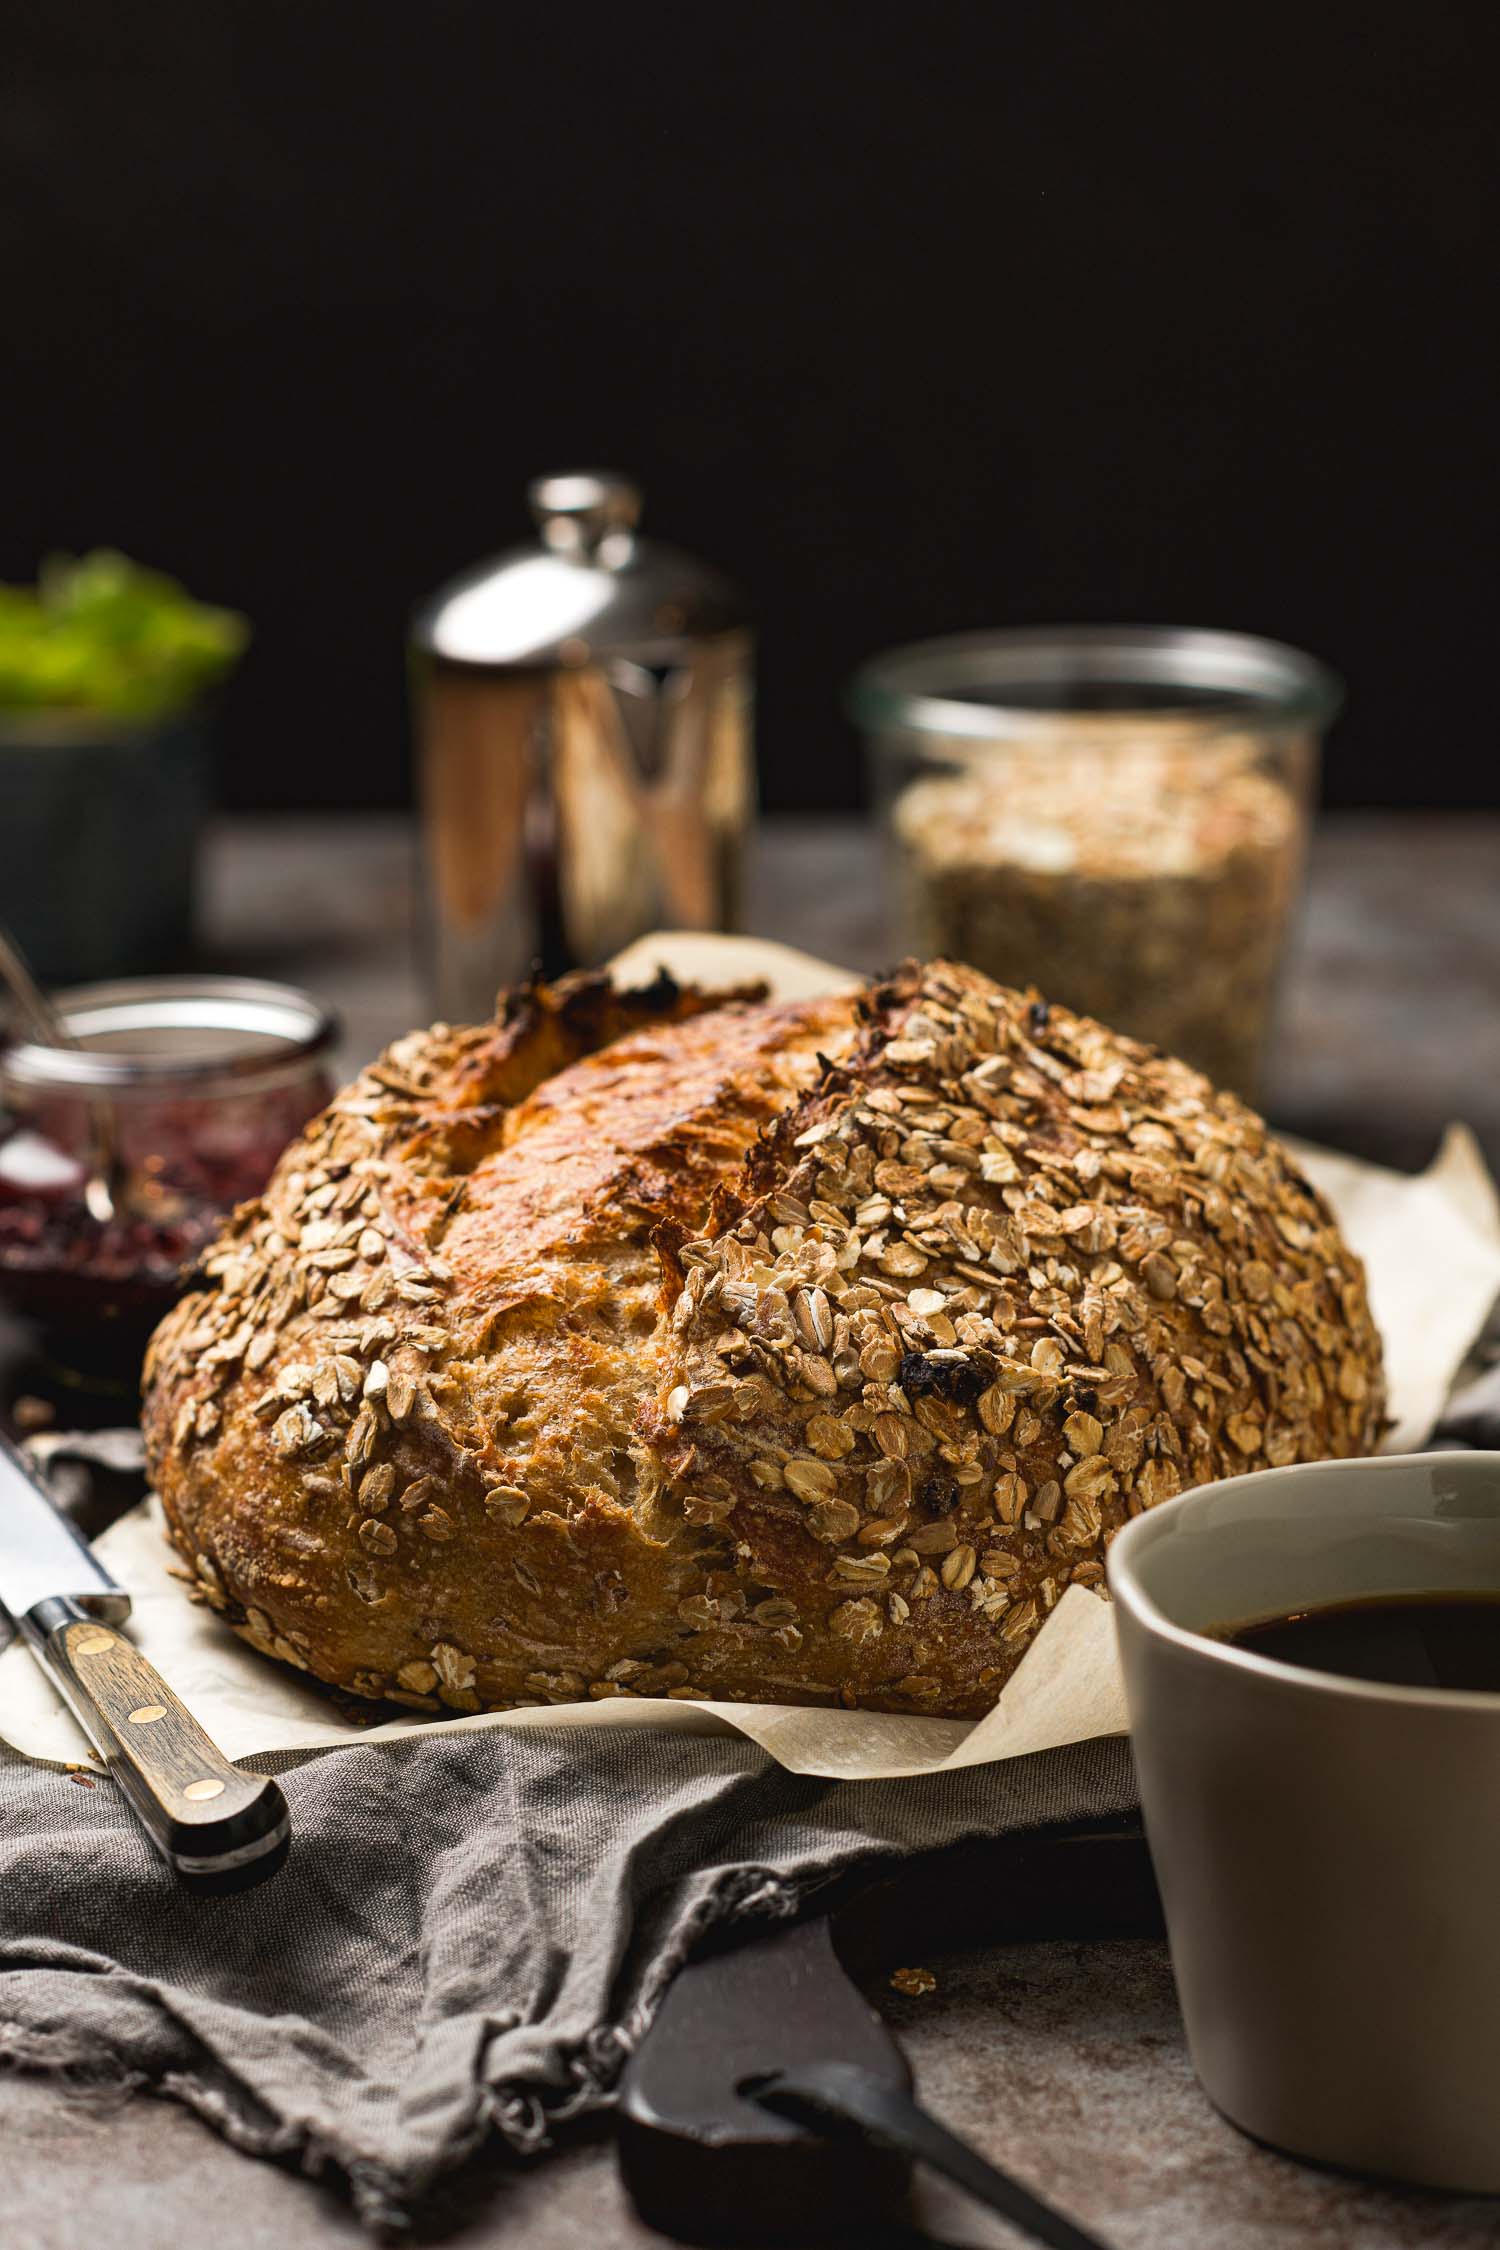
At this time last month I was in Sun Valley for a long weekend with two of my girlfriends. We hopped on the plane with the weatherman forecasting bad weather and since in late October the town slumbers between festivities anyway we stuck to a simple agenda: a few hikes, meals in town and some cozy catching up in front of the fireplace with a jigsaw puzzle piece in one hand and a French 75 in the other.
Three days after returning home from my lovely mountain trip my husband and I flew to Tampa, Florida to set off on a mini road trip between Naples and Sarasota. It had been over thirty years since his first visit to the state and it was my first. We spent a week in discovery mode, my husband mostly remarking how much things had grown and changed over the years while I hungrily took in the surroundings. We walked miles on the beach, swam a little, collected seashells and just enjoyed being somewhere new.
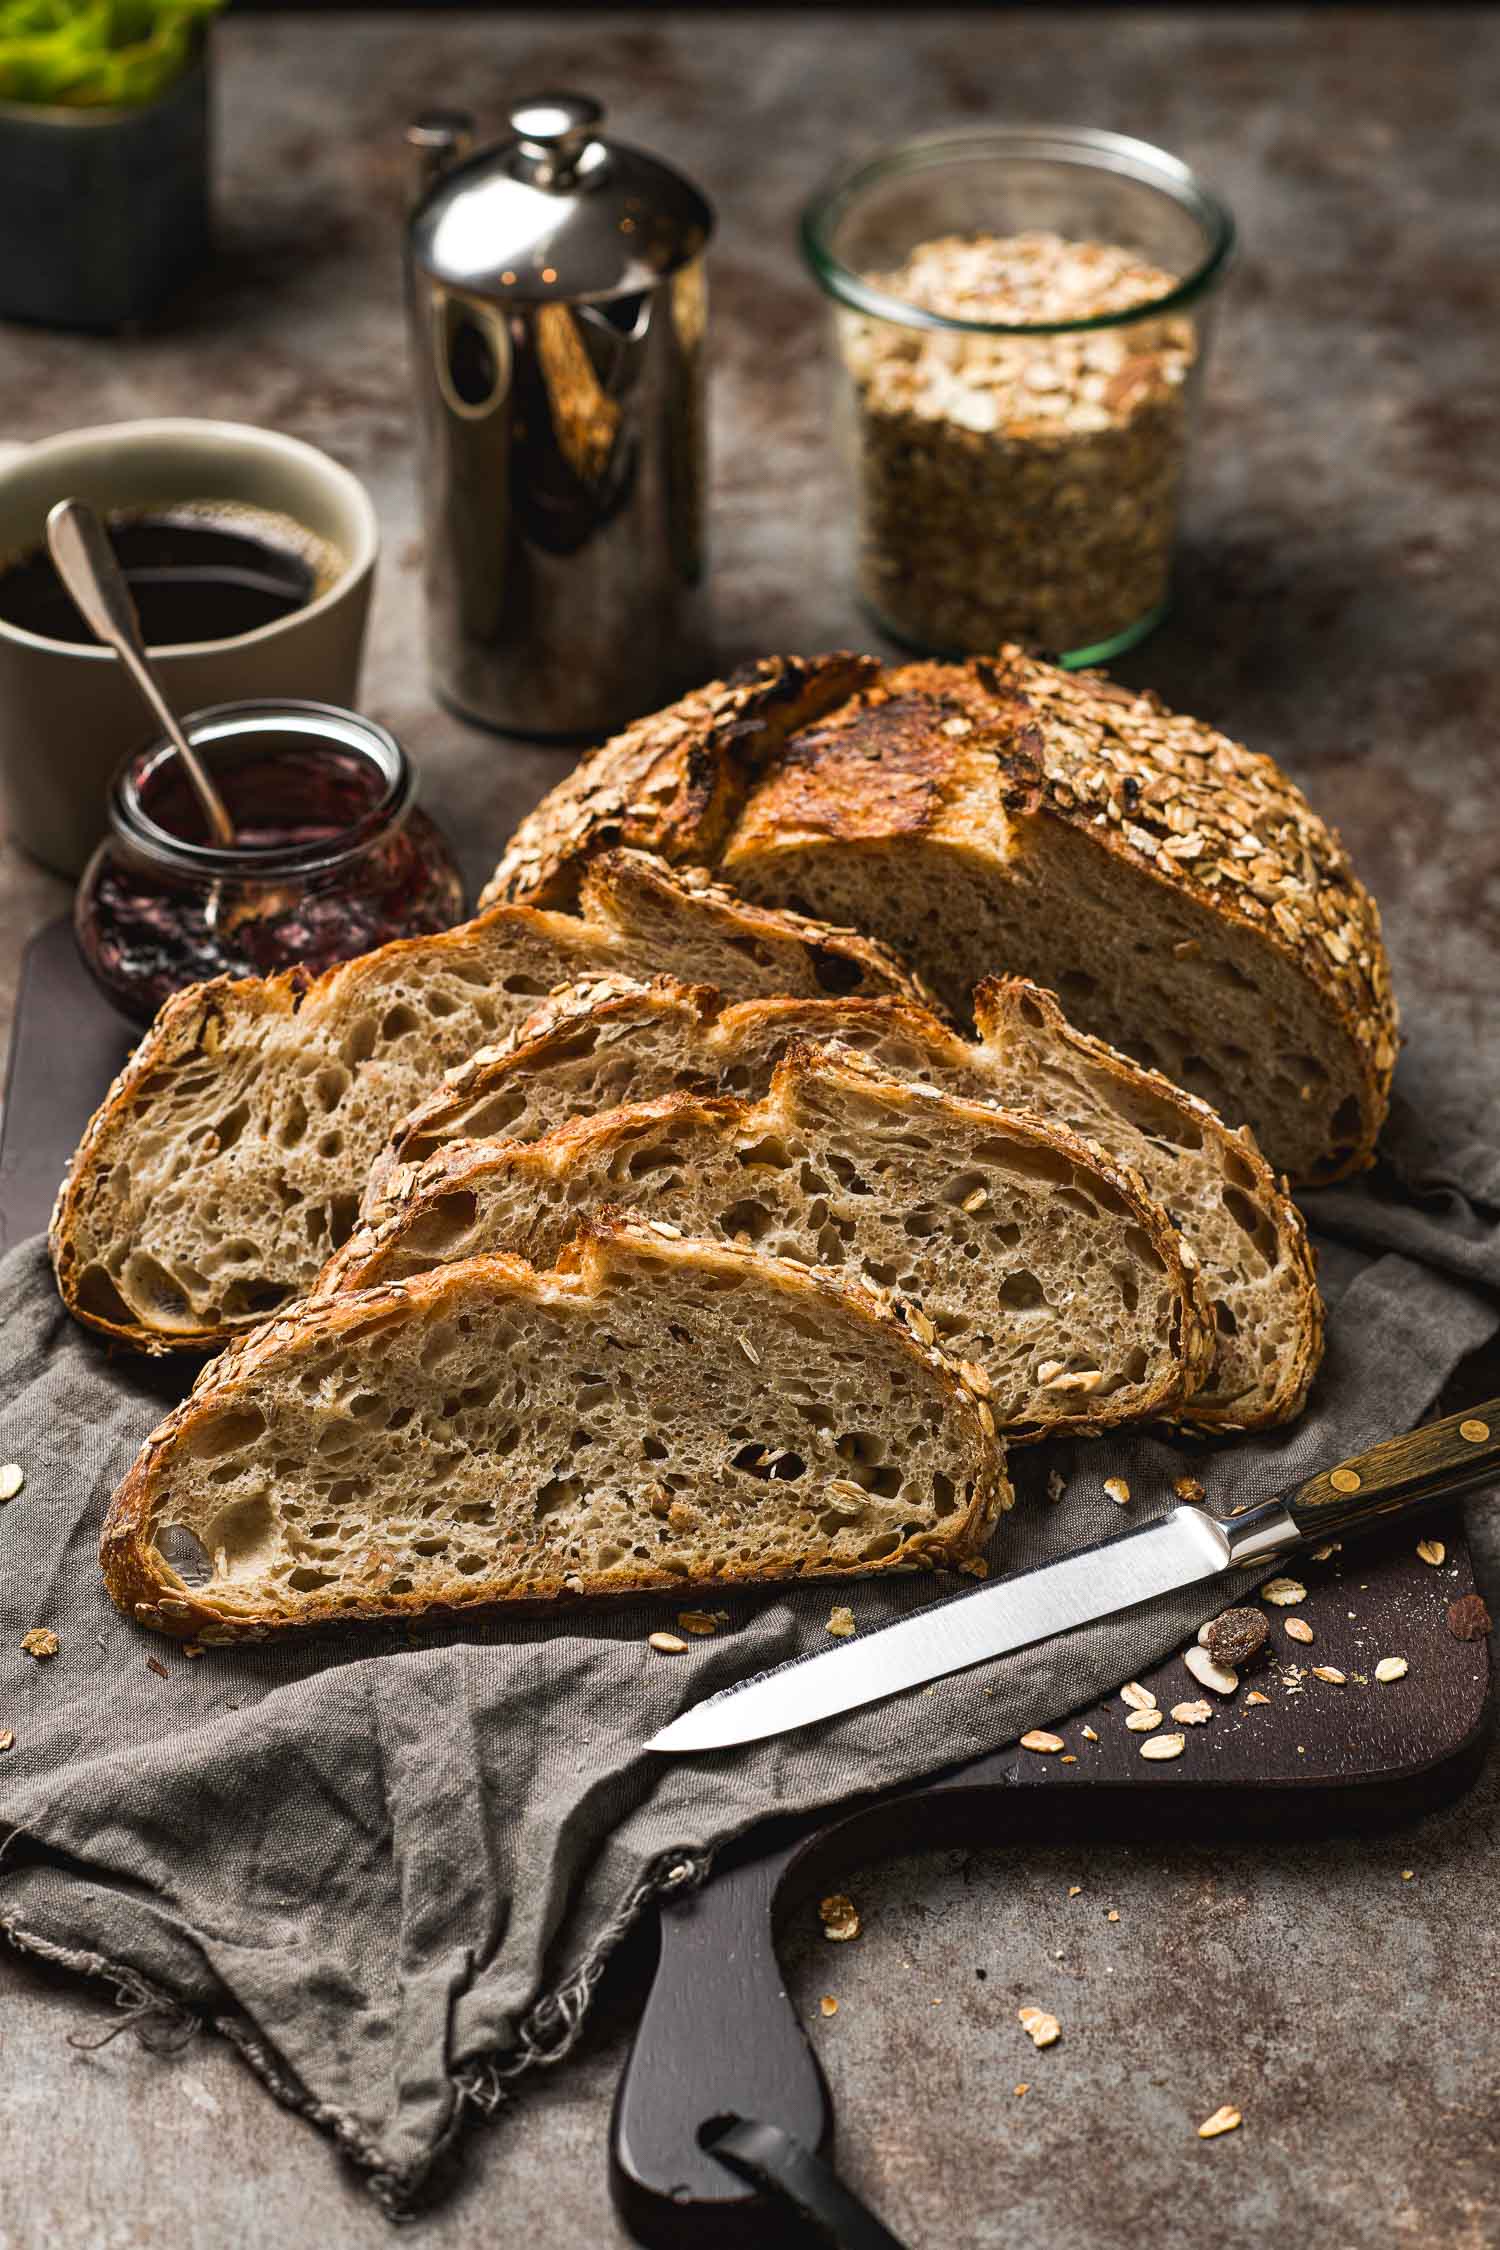
After the back-to-back trips I was eager to return to the kitchen for homemade bread, especially since we’ve been enjoying a new blend lately. Instead of our usual rye-caraway seed add-ins, I’ve been incorporating muesli and whole wheat flour into my recent bakes.
Now, asking me to choose which of my sourdough breads is my favorite is like asking a mother to choose her favorite child but this combination is getting all our attention these days.
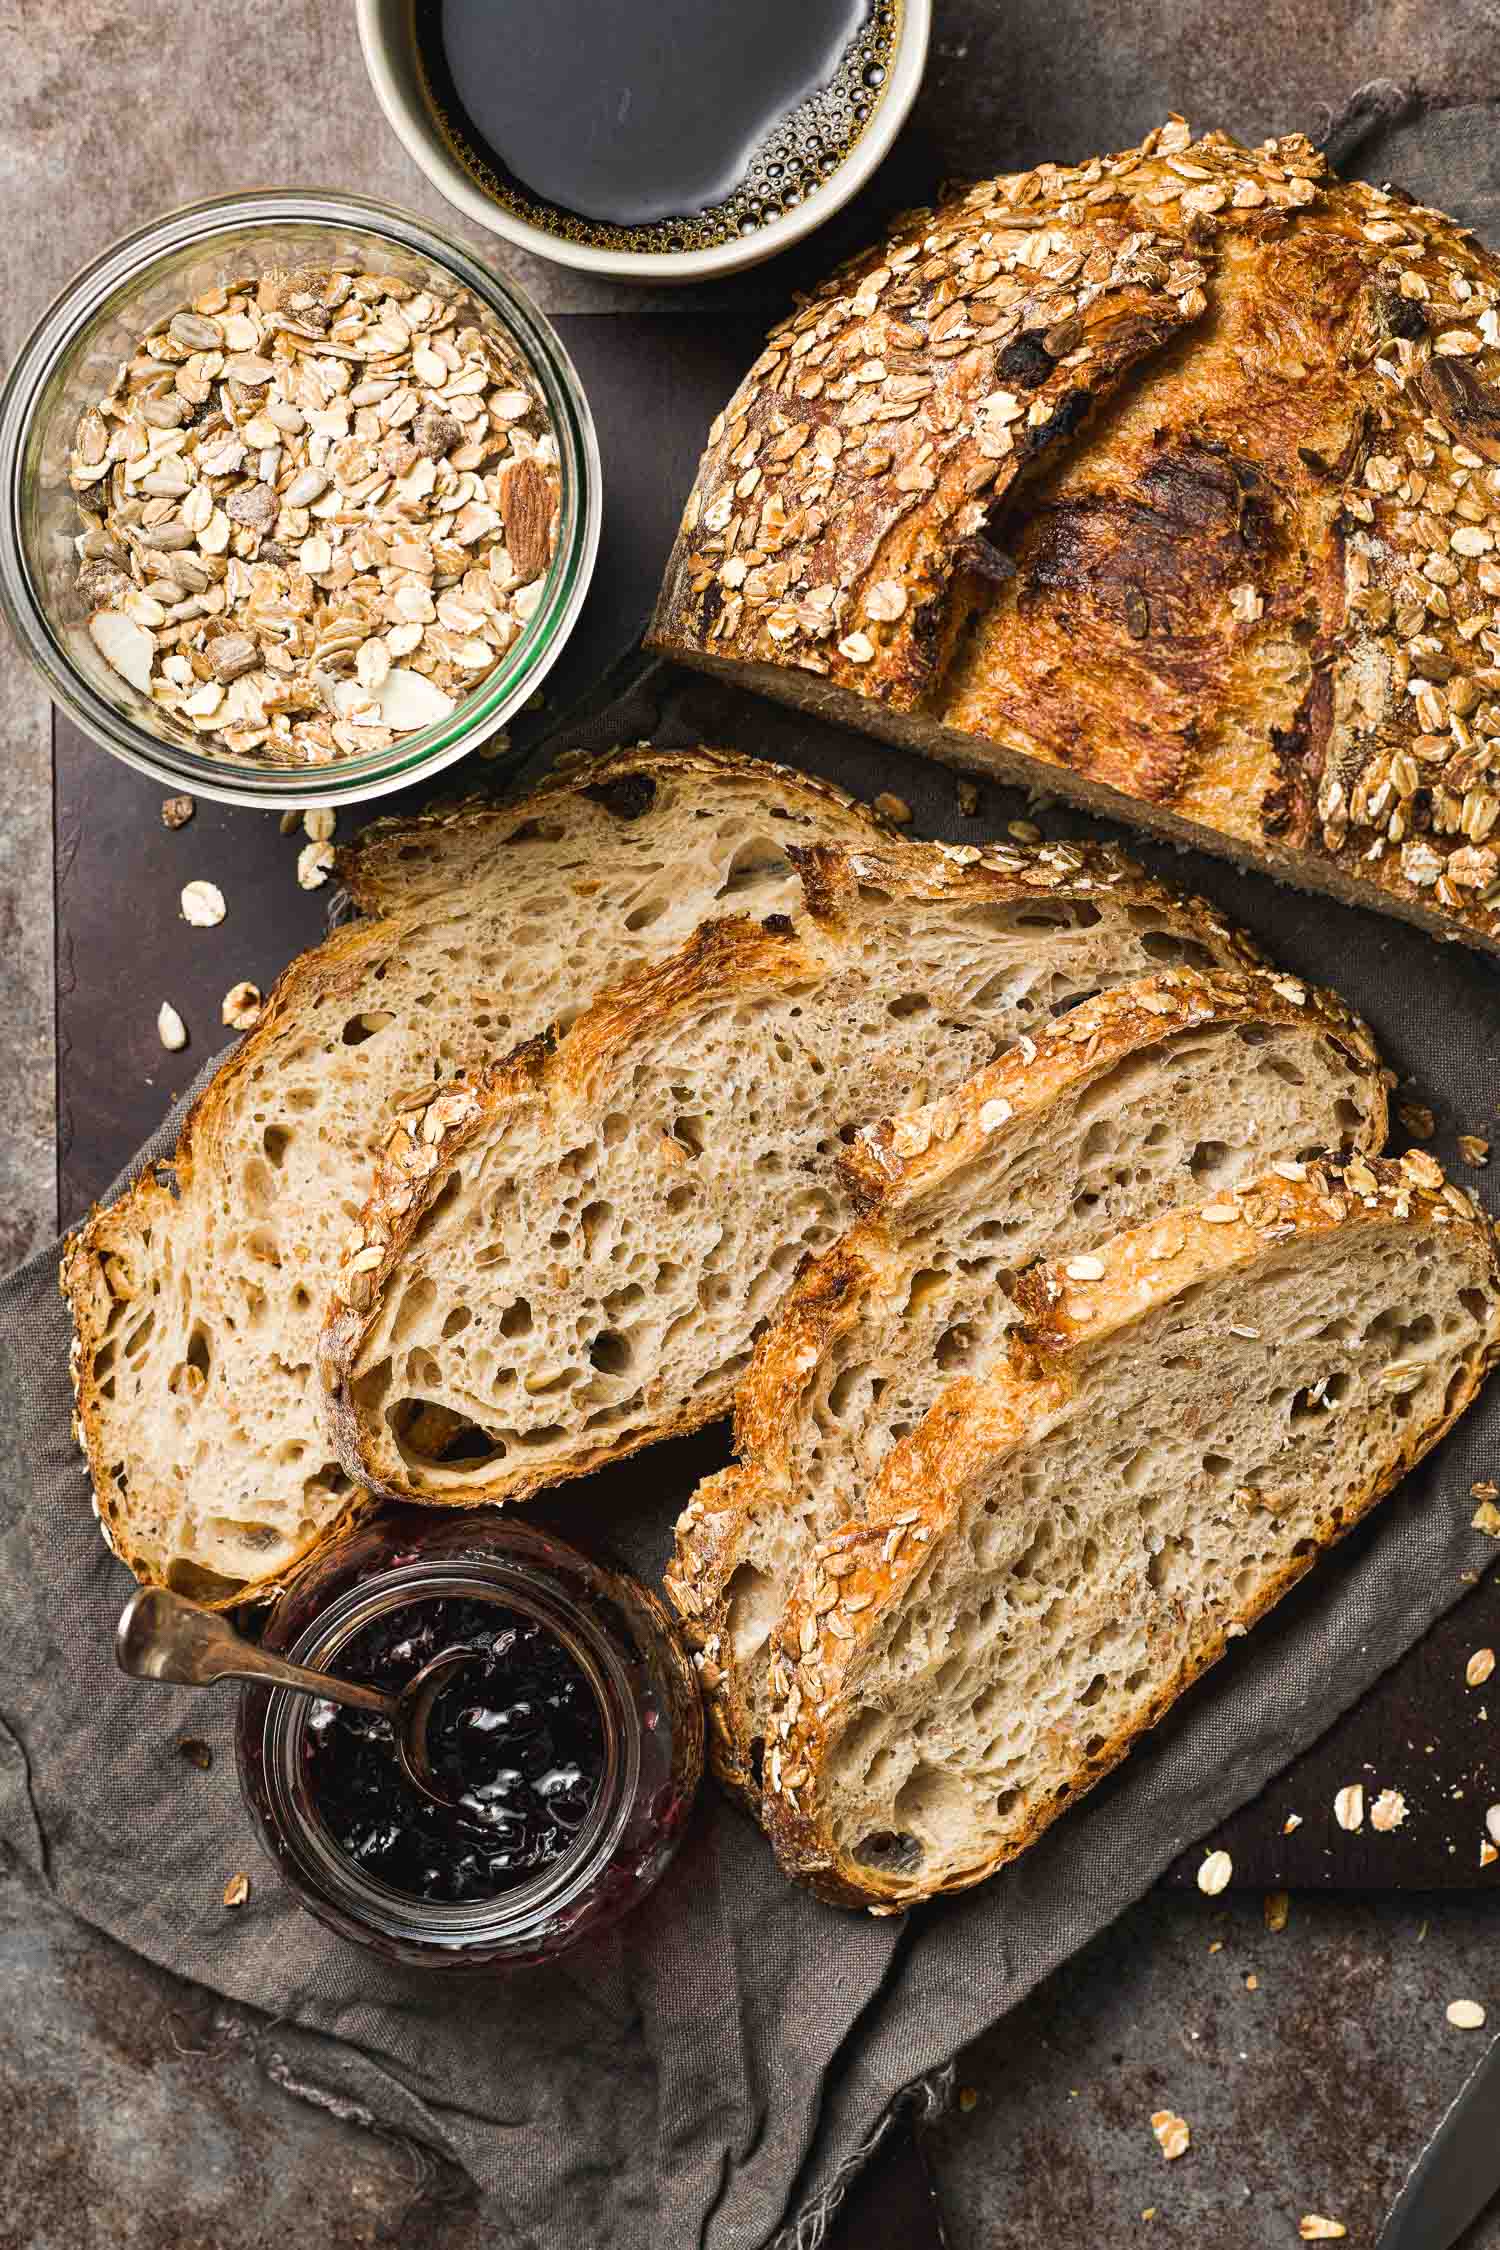
Muesli is a cereal blend with oats, nuts, seeds and dried fruit. It’s not something I’ve kept regularly in the pantry until now but feeling nostalgic recently for our past vacations in Europe where muesli was always part of the hotel breakfast spread, I brought home a bag from the market on a whim.
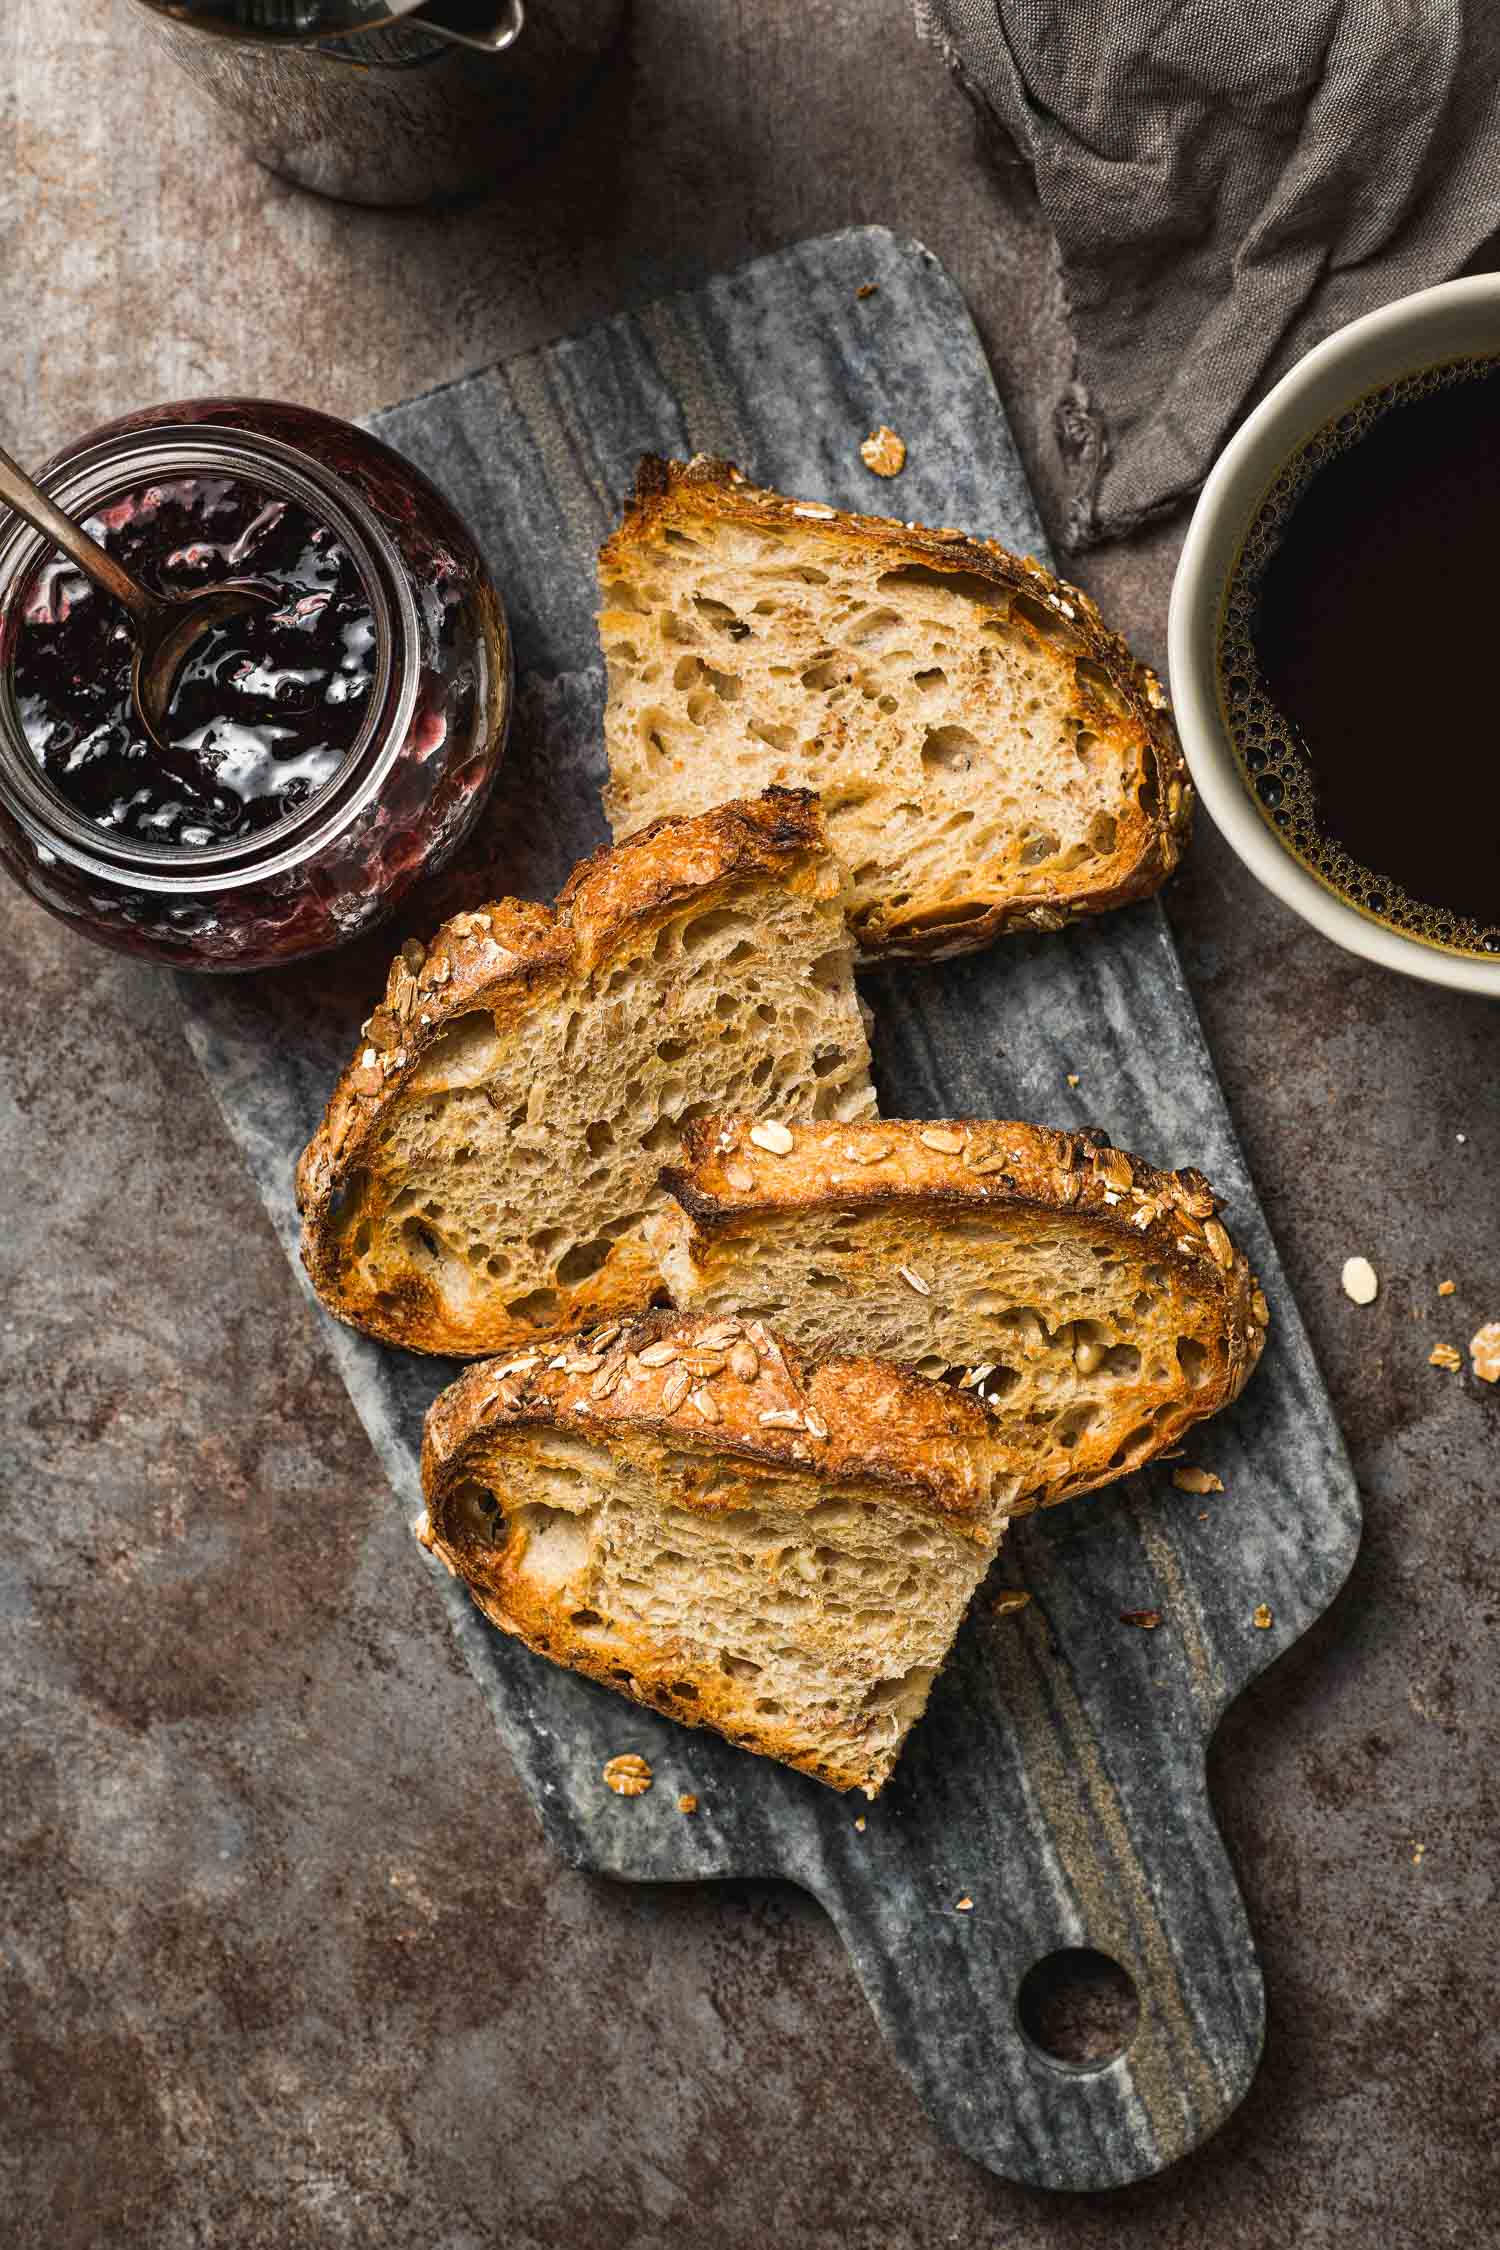
Not only does muesli bump up the nutrient factor of a basic loaf it takes wholesome and hearty goodness to a new level, at least if you prefer bread with more substance. Because the muesli is not only in the crumb but on the crust, too, the added texture lends a richer sourdough experience. The dried fruit adds no significant sweetness but the occasional bite is a pleasant surprise.
This recipe contains almost 20% whole wheat flour which I’ve found has more universal appeal than my usual top choice, rye flour. Over the last year and a half of baking for friends I’ve learned that not everyone likes rye or caraway seeds as much as my husband and I do but most have no objections to whole wheat flour.
A Note About the Crumb…
If you try this recipe keep in mind that the addition of whole grain flour and the add-ins will not give you the airiest crumb. The crumb is tighter and well suited for toasting and slathering with butter and jam, or for sandwiches that you want to pile high with layers of meat and fixings.
That said, if you’re a strict white flour baker you can skip the whole wheat flour altogether. Add just the muesli if you’re curious about the flavor it contributes. Better yet, feel free to use your own go-to sourdough recipe and incorporate the muesli during your stretch and fold or lamination stage. Consider it a baby step towards adding a little extra substance to your classic loaf without the all-in whole grain commitment. Who knows, you might end up liking it as much as we do.

Ingredients
- 360 grams bread flour
- 80 grams whole wheat flour (or bread flour)
- 342-360 grams water (See note)
- 95 grams active starter
- 12 grams kosher salt
- 80 grams muesli (plus more for coating dough, optional)
Instructions
-
Day 1, Mix the Dough: The autolyse step is omitted in this recipe. Instead, all the ingredients are mixed at once. It’s best to start by adding the water, salt and active starter in a large bowl. Stir the mixture around until the starter has been as evenly distributed in the water as possible. Follow by adding the bread flour, whole wheat flour (if using) and muesli. Stir with a spatula or dough whisk until the ingredients have been evenly incorporated. The dough will seem wet at this stage if you aren’t accustomed to working with a higher hydration dough (see note below). Cover the bowl with plastic wrap. Tip: Take the dough’s temperature and monitor at each stage to help you measure total bulk fermentation time which starts now.
-
Day 1, Stretch and Fold #1: After 30 minutes, perform your first stretch and fold. Take one portion of the dough pull it to the point of resistance and fold it over the rest of the dough. Rotate the bowl one quarter turn and pulling another portion and folding over the dough again, rotating a few more times until you’ve stretched and folded the dough roughly eight times (eight quarter turns). You will feel the dough tighten with each stretch and fold. Cover the dough. Take the dough’s temperature and note it.
-
Day 1, Stretch and Fold #2: After 30 minutes, repeat the previous stretch and fold instructions above, cover and remember to take its temperature if you’re taking note.
-
Day 1, Lamination: After two stretch and fold sessions carefully turn the dough out on your work surface that’s been lightly misted with water. Transfer the dough so that what was the top while it was in the bowl is now the bottom. Using wet hands, carefully pull the dough from the center, extending it to stretch it out without tearing the gluten strands. Repeat until you have a large rectangle. Pop the large bubbles with your fingers. Take two ends and fold over the dough 2/3 of the way. Take the other end and fold over (you will fold in thirds). Fold the dough in thirds again and transfer to a glass casserole dish seam side down. Cover with plastic wrap and let sit for 30 minutes. Take the temperature.
-
Day 1, Coil Folds: Using wet hands, take the middle portion on each side of the dough and carefully lift until the top pulls apart from the casserole dish. Tuck it under, rotate the dish and pull and tuck the other end. Rotate the dish to repeat this set. Perform two to four coil folds every thirty minutes depending on the behavior of your dough. The goal is to observe that the dough is gaining more structure and not spreading out as much after each coil fold session.
-
Day 1, Bulk Fermentation: Bulk fermentation time for this recipe started when you mixed the dough and it’s completed once the dough has nearly double in size and has rounded edges, maybe some bubbles on the surface. If you noted the dough’s temperature, in the high 70ºs F, total bulk time would be roughly five hours to five and half hours. Bulk time might be longer if you used all bread flour and/or if the dough temperature is cooler and also if you opted for a lower hydration. If your dough is warmer the total bulk time will be shorter.
-
Day 1, Shape/Cold Retard: Dust your banneton (round or oval)with rice flour. Turn the dough out on a lightly floured surface. The top of the dough now becomes the bottom. Gently pull the dough to flatten it a little, fold in thirds and roll into a ball. Transfer the dough to the banneton seam side up, pinching the seams together. Cover with a plastic bag and refrigerate overnight.
-
Day 2, Bake: Put your dutch oven with the lid on in your cold oven and preheat to 475ºF. When your oven has reached temperature take your dough out of the refrigerator, set a piece of parchment paper on top of the banneton, flip and gently lay on the counter. Brush the excess flour from the top of the dough. If you choose to coat the dough with muesli before baking, spritz the surface with water and pat the muesli all over the top and sides. Next, score the loaf (it can be a bit challenging because of the add-ins but there’s no need to be too gentle). Put on your oven mitts and take your dutch oven out of the oven. Remove the lid and gently lay the dough in the pot using the parchment paper. Optional: Mist the top of the dough with water to help with oven spring. Cover, return to oven and bake for 30 minutes. Remove the lid and bake for another 20 minutes at 450ºF. Cool on a wire rack for two to three hours before slicing.
Recipe Notes
Water/Hydration: For this recipe I’ve bumped up my usual 80% hydration formula to about 83% to account for the (unhydrated) muesli incorporated in the dough. If you are more comfortable working with a lower hydration dough, reduce the water to 342 grams to make it 80%, or even less to suit your comfort level.

