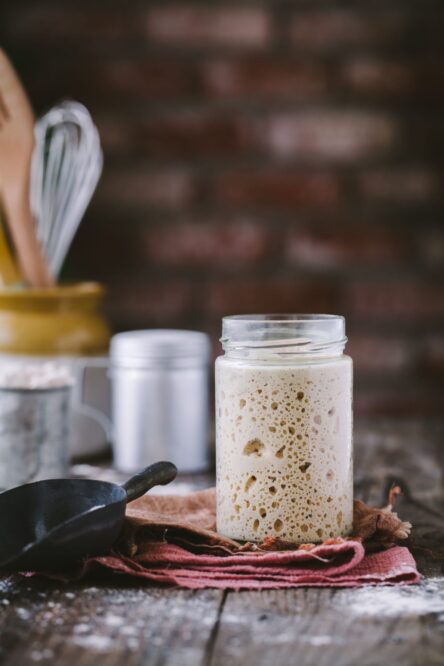
Sourdough Starter
This sourdough starter recipe is simple. I used two most commonly found flours in any kitchen – all purpose flour (maida) and wheat flour. The wheat flour that I used for my starter was atta/chapati flour that I get from Indian stores. You have to start this journey keeping one thing in mind – sourdough starter takes time to develop and strengthen. You cannot rush the process.
What is Sourdough Starter
Sourdough starter is wild yeast which is prepared by fermenting flour and water. How magical and simple is this? So, instead of buying packaged yeast from the market, you make your own natural yeast at home with just 2 INGREDIENTS.
Apart from these two ingredients, all you need is TIME. Preparing sourdough starter is a slow process and you don’t need to do a lot of work but you need to pay attention and take care.
Equipments to make the Sourdough Starter
Sourdough starter is easy but a little tricky and so every little details are important, including these two simple equipments.
- Tall Glass Container – You will be adding flour and water for 9 days while you will discard half of what you are adding every day (detailed explanation on discard given below). Make sure you use only CLEAN glass, ceramic or stoneware container. NO PLASTIC or STEEL container as it could react on fermenting.
- Measuring Scale – You can use measuring cups too but for accuracy, measuring the flour and water by weight will work better.
Flours I used for my Sourdough Starter
I started my sourdough starter with all-purpose flour for three days and then, added wheat flour for the next 6 days.
And, I am still adding the wheat flour to refresh my starter.
You can use just all-purpose flour too!
We don’t need commercial yeast to prepare sourdough starter!
I have been baking breads for several years now but only with yeast. Since I got the hang of sourdough bread, I tend to stick to the natural yeast more. The texture is just so better!
Takes roughly 9 days to get your sourdough starter ready. And, sometimes it might take a little more time.
KEEP IN MIND:
Every sourdough starter is different, just like how every human being is different.
You NEED to have patience.
Remember to use a clean container and a clean spoon every time you mix. Use filtered water only to mix with the flour.
The steps are simple and even though I am fairly new with the sourdough bread baking experience, I have managed to make a good starter following Sneh’s recipe and have baked many breads in the last 5 months. Slowly but surely, I have gotten the hang of it and felt confident enough to share it here.
My journey with sourdough is just 4 months old (since shelter-in-place was announced) and this particular post will get updated as and when I learn something new.
THE 9 DAY STEPS!
DAY 1
- In a clean dry glass or ceramic container, add 60 gm/2.11 oz all-purpose flour and 60 gm/2.11 oz filtered water along with 5 raisins. Don’t cover the container with a tight lid. Just place a plate on top or a cover with a linen cloth. The raisins that we added will dissolve completely in couple weeks.
(Sneh’s recipe mentioned about adding raisins as the sweetness of the raisins helps to kick start the fermentation and I have followed the same process)
- Give it a mix with a clean spoon. Make sure there are no dry flour bits.
It will feel sticky and you will be tempted to add water but don’t, unless you are finding it very difficult to incorporate all the dry flour. Just mix and place a small plate on top of the container. Do not use any tight lid.
If the weather is warm, keep it on your kitchen counter. If it’s not that warm, place it in the oven (turned off) just with the light on. But, don’t leave it in there for the whole night unless it’s really cold in your part of the world.
Keep in mind that you will not see a big rise on the first day, but you might see some tiny bubbles.
DAY 2
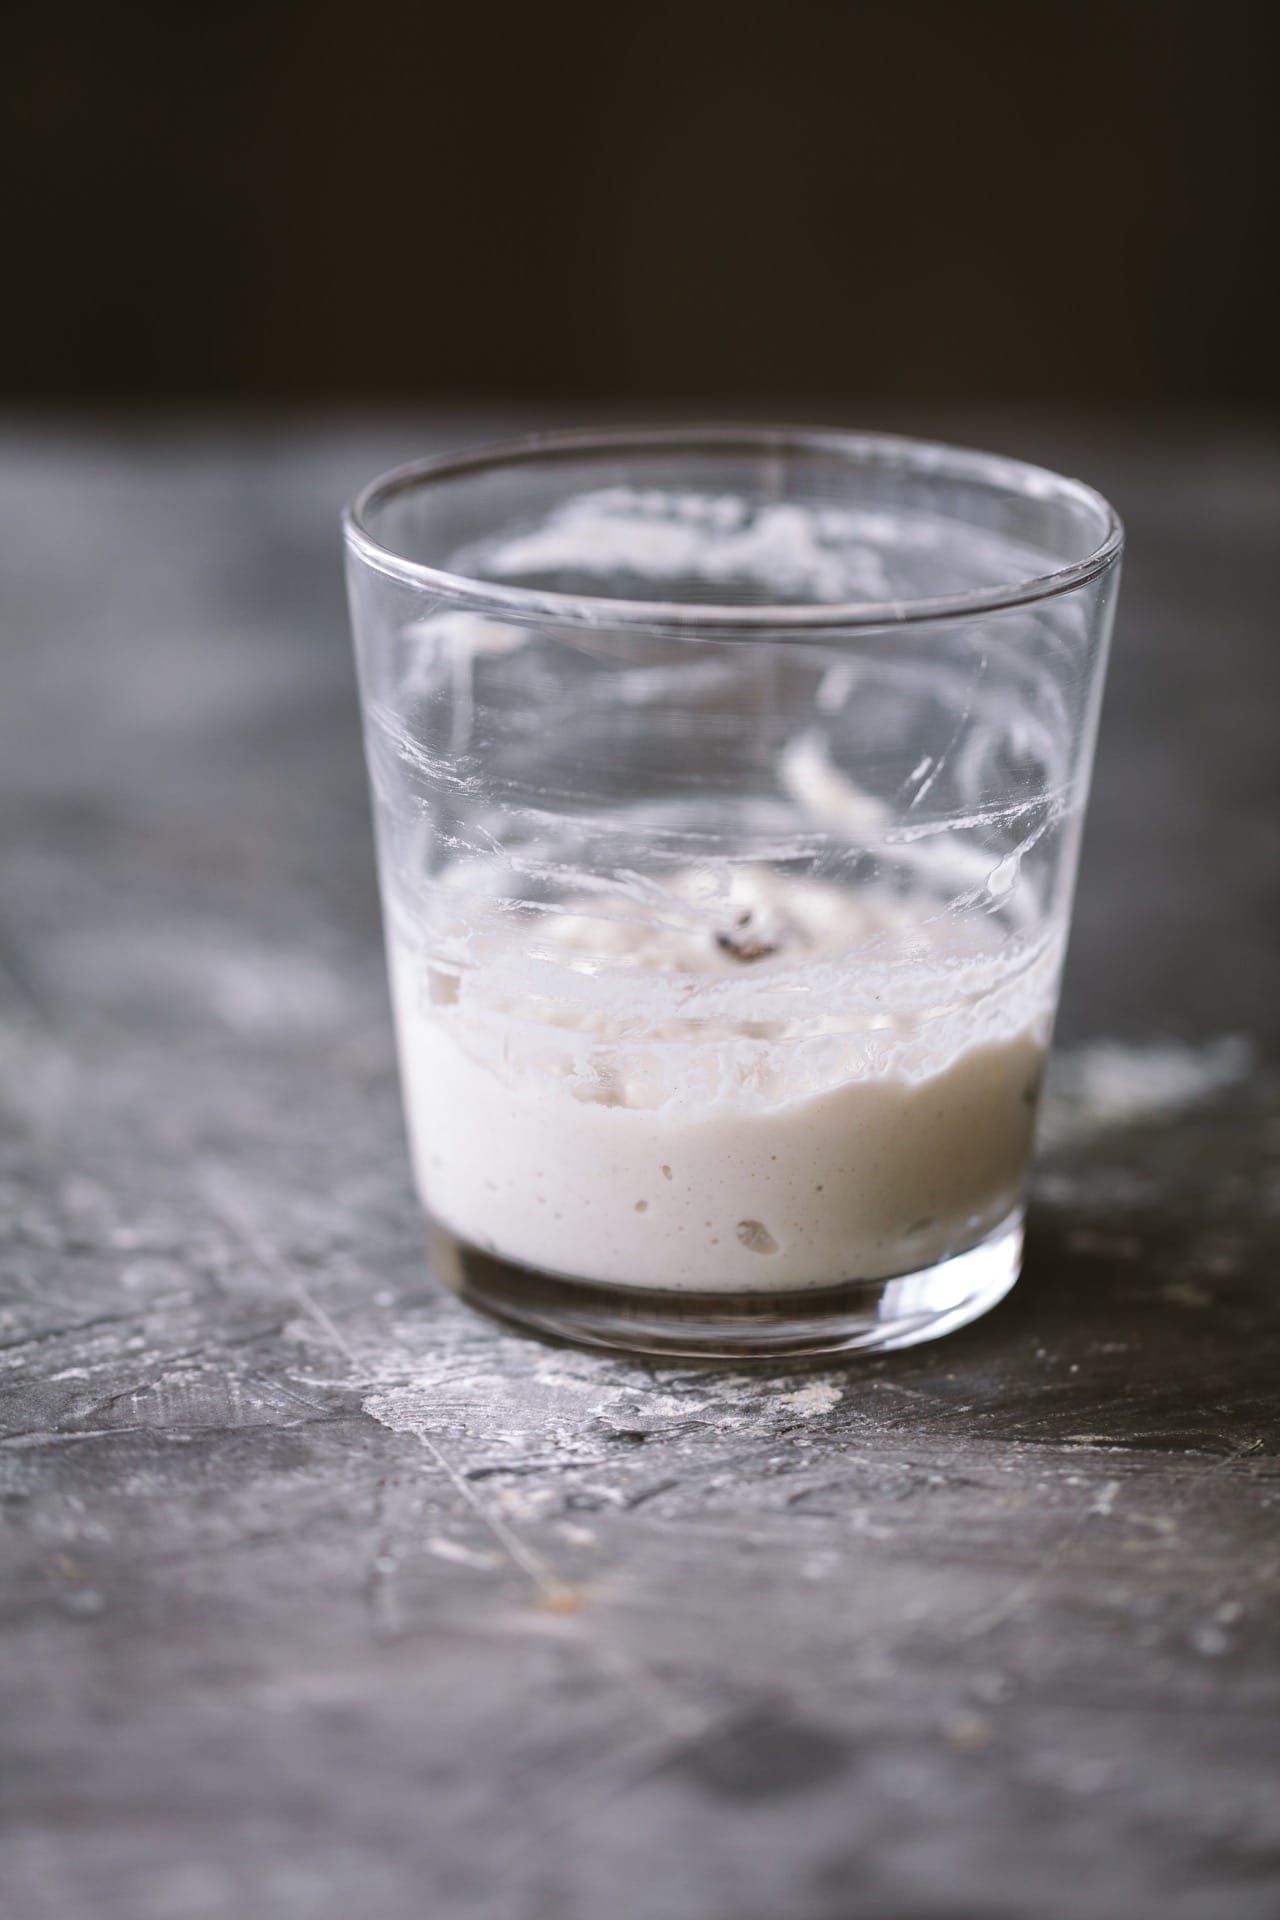
If it is very warm, chances are you will see some activity and tiny bubbles too, probably! You will notice that the consistency has loosened a little. If there is no activity at all, it’s still fine!
Give it a mix with a clean dry spoon. Add 60 gm/2.11 all-purpose flour and 60 gm/2.11 filtered water. Mix it again and make sure there are no dry flour bits.
I like to use a rubber spatula as it gets easy to scrape the sides clean.
Cover with a plate or linen cloth and leave it aside exactly the same way you did on DAY 1.
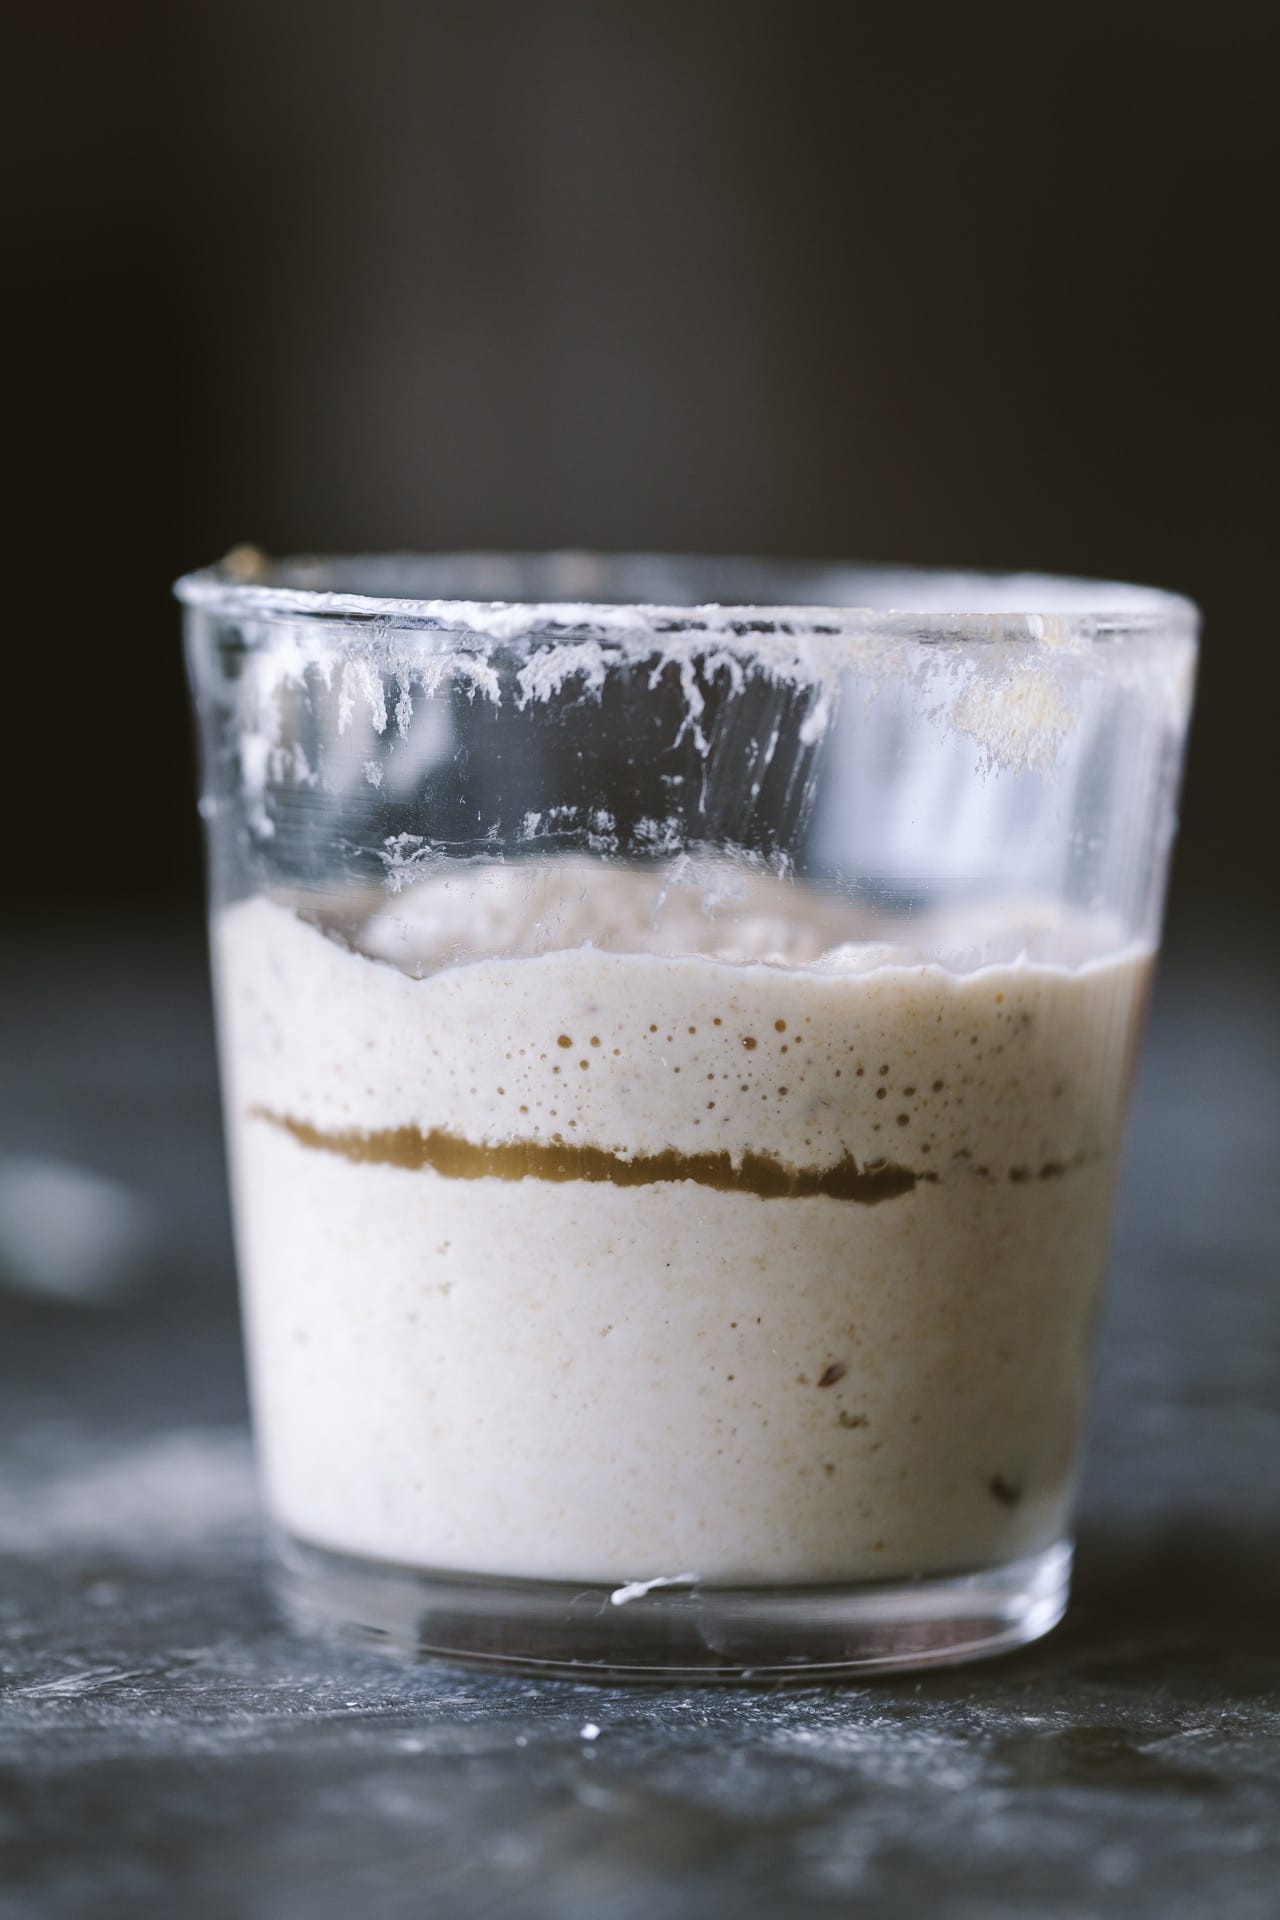
What is HOOCH?
On Day 2 or Day 3, you might notice the content separated with a thin liquid line or you might see a thin liquid line on top or bottom. It’s called hooch. Any time you see this, it only means that the starter is hungry and needs a feed.

DAY 3 to DAY 8
Discard half of the starter. Feed 50 gm/1.75 oz flour and 50 gm/1.75 oz filtered water. Follow the exact same step of mixing, scraping the sides and keeping it aside like you did on the first two days.
I started adding wheat flour from day 4.
Why DISCARD half the starter ?
We are home bakers and we will not need a boatload of sourdough starter unless you decide to bake multiple breads every day.
The more the quantity of the starter, the bigger will be the amount of feed. Just how a baby needs less amount of food compared to a grown-up kid. So, if you discard half of the starter, you will need to feed just 50 gm/1.75 oz flour everyday with 50 gm/1.75 oz of filtered water.
If you do not discard, you would need to add more flour to satisfy the appetite of that large amount of starter. By the end of 9 days, you can imagine how big the quantity will turn out to be!
So, after Day 3, keep discarding half of the volume and feed 50 gm/1.75 oz flour and 50 gm/1.75 oz filtered water.

What to do with the discard?
I intend to keep updating a list of recipes in this section. But in short, you can use it in your pancake mixture, waffle batter or knead with dough to make crackers, roti, chapati, naan, flatbread, pizza, etc. Truly endless list of possible ways to use the discard.
You can store the discard separately in an airtight container and keep it in the refrigerator. Just keep adding your additional discard to the same container every day before feeding your starter
FEEDING THE STARTER
Based on the temperature where you live and on the kind of flour you are using, your starter might ferment faster. If that happens, you might need to feed your starter every 8 to 12 hours.
I fed once in 24 hours when I started because it wasn’t that hot.
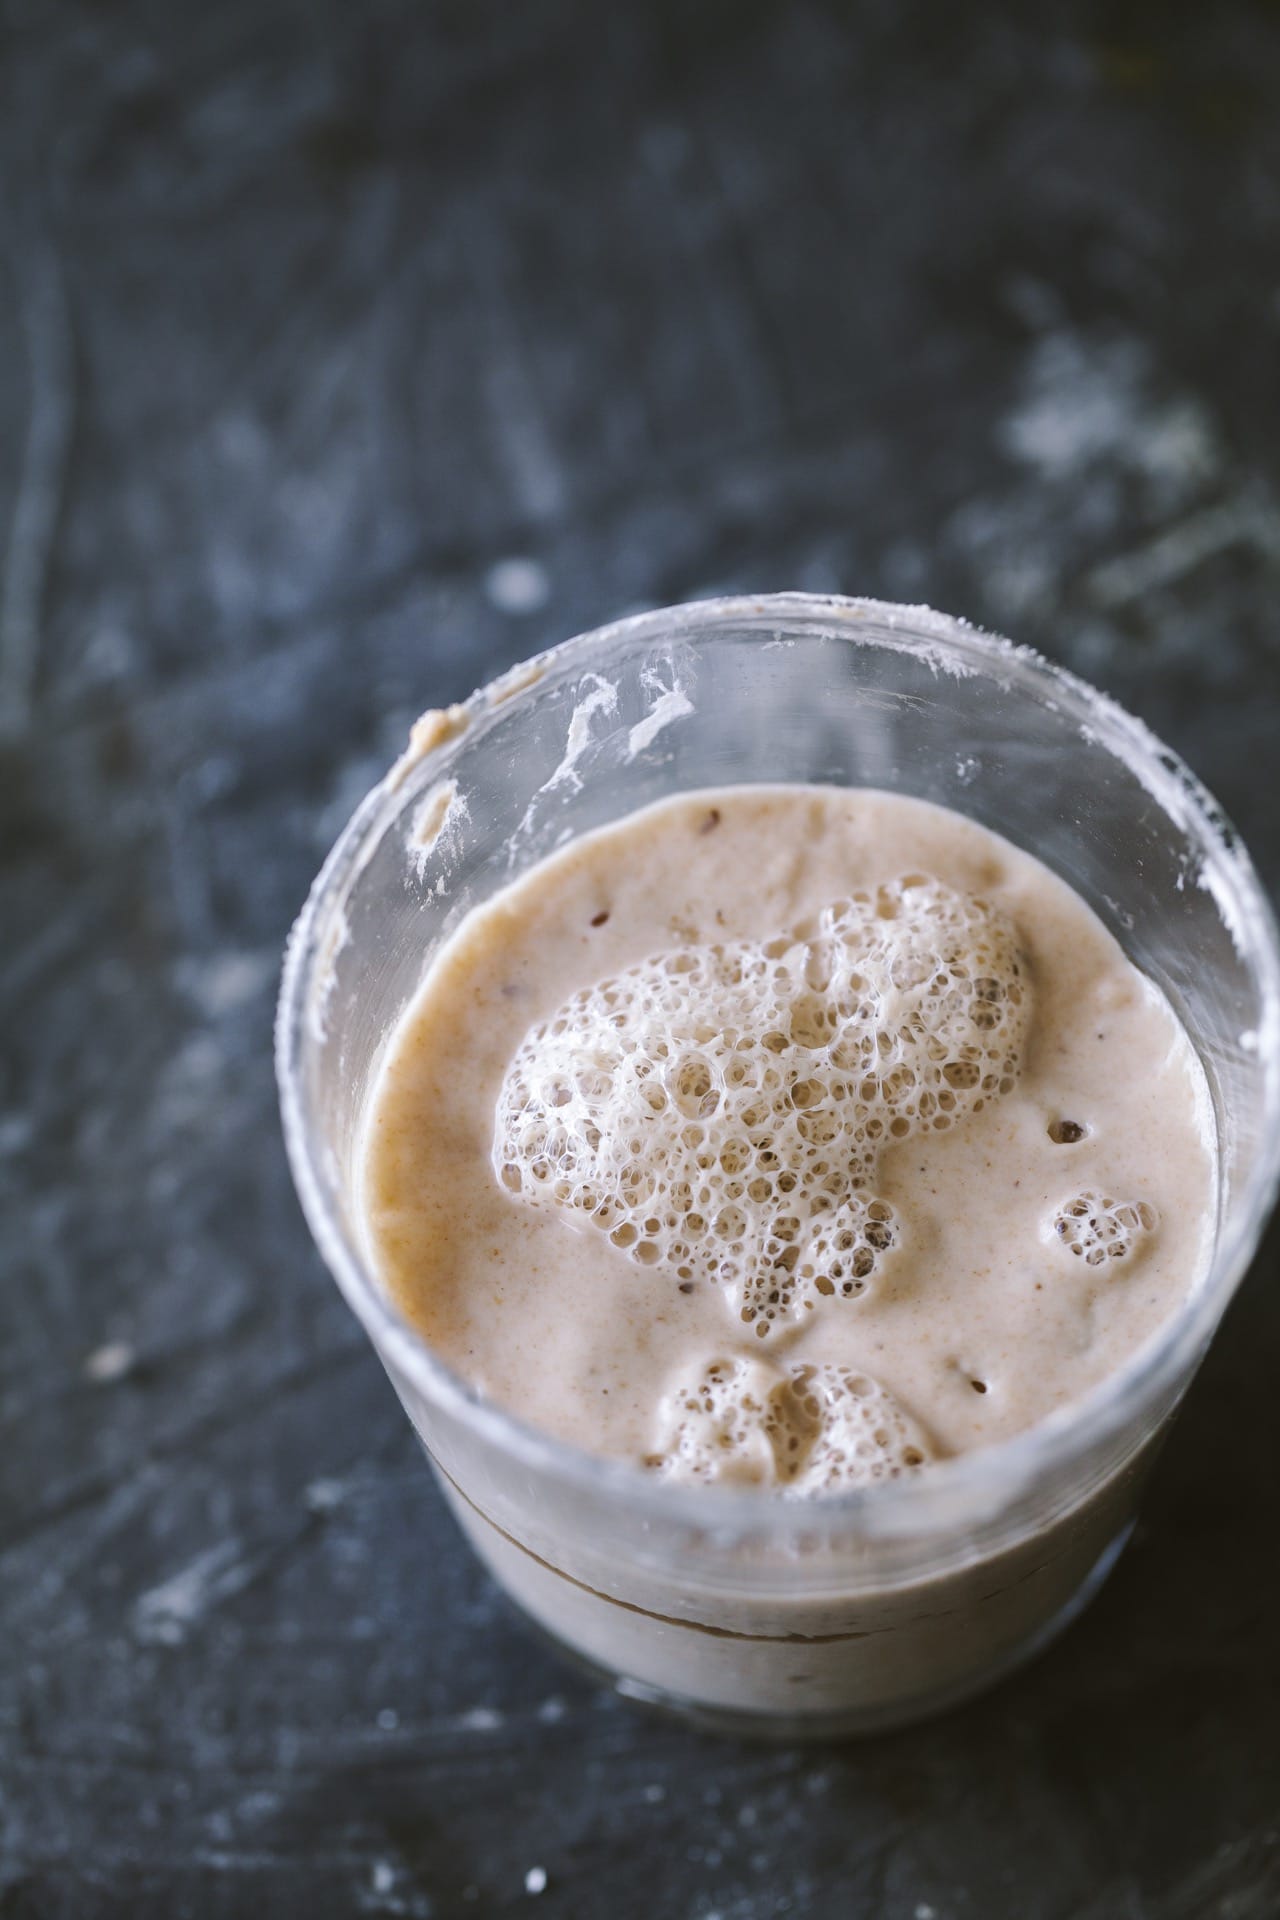
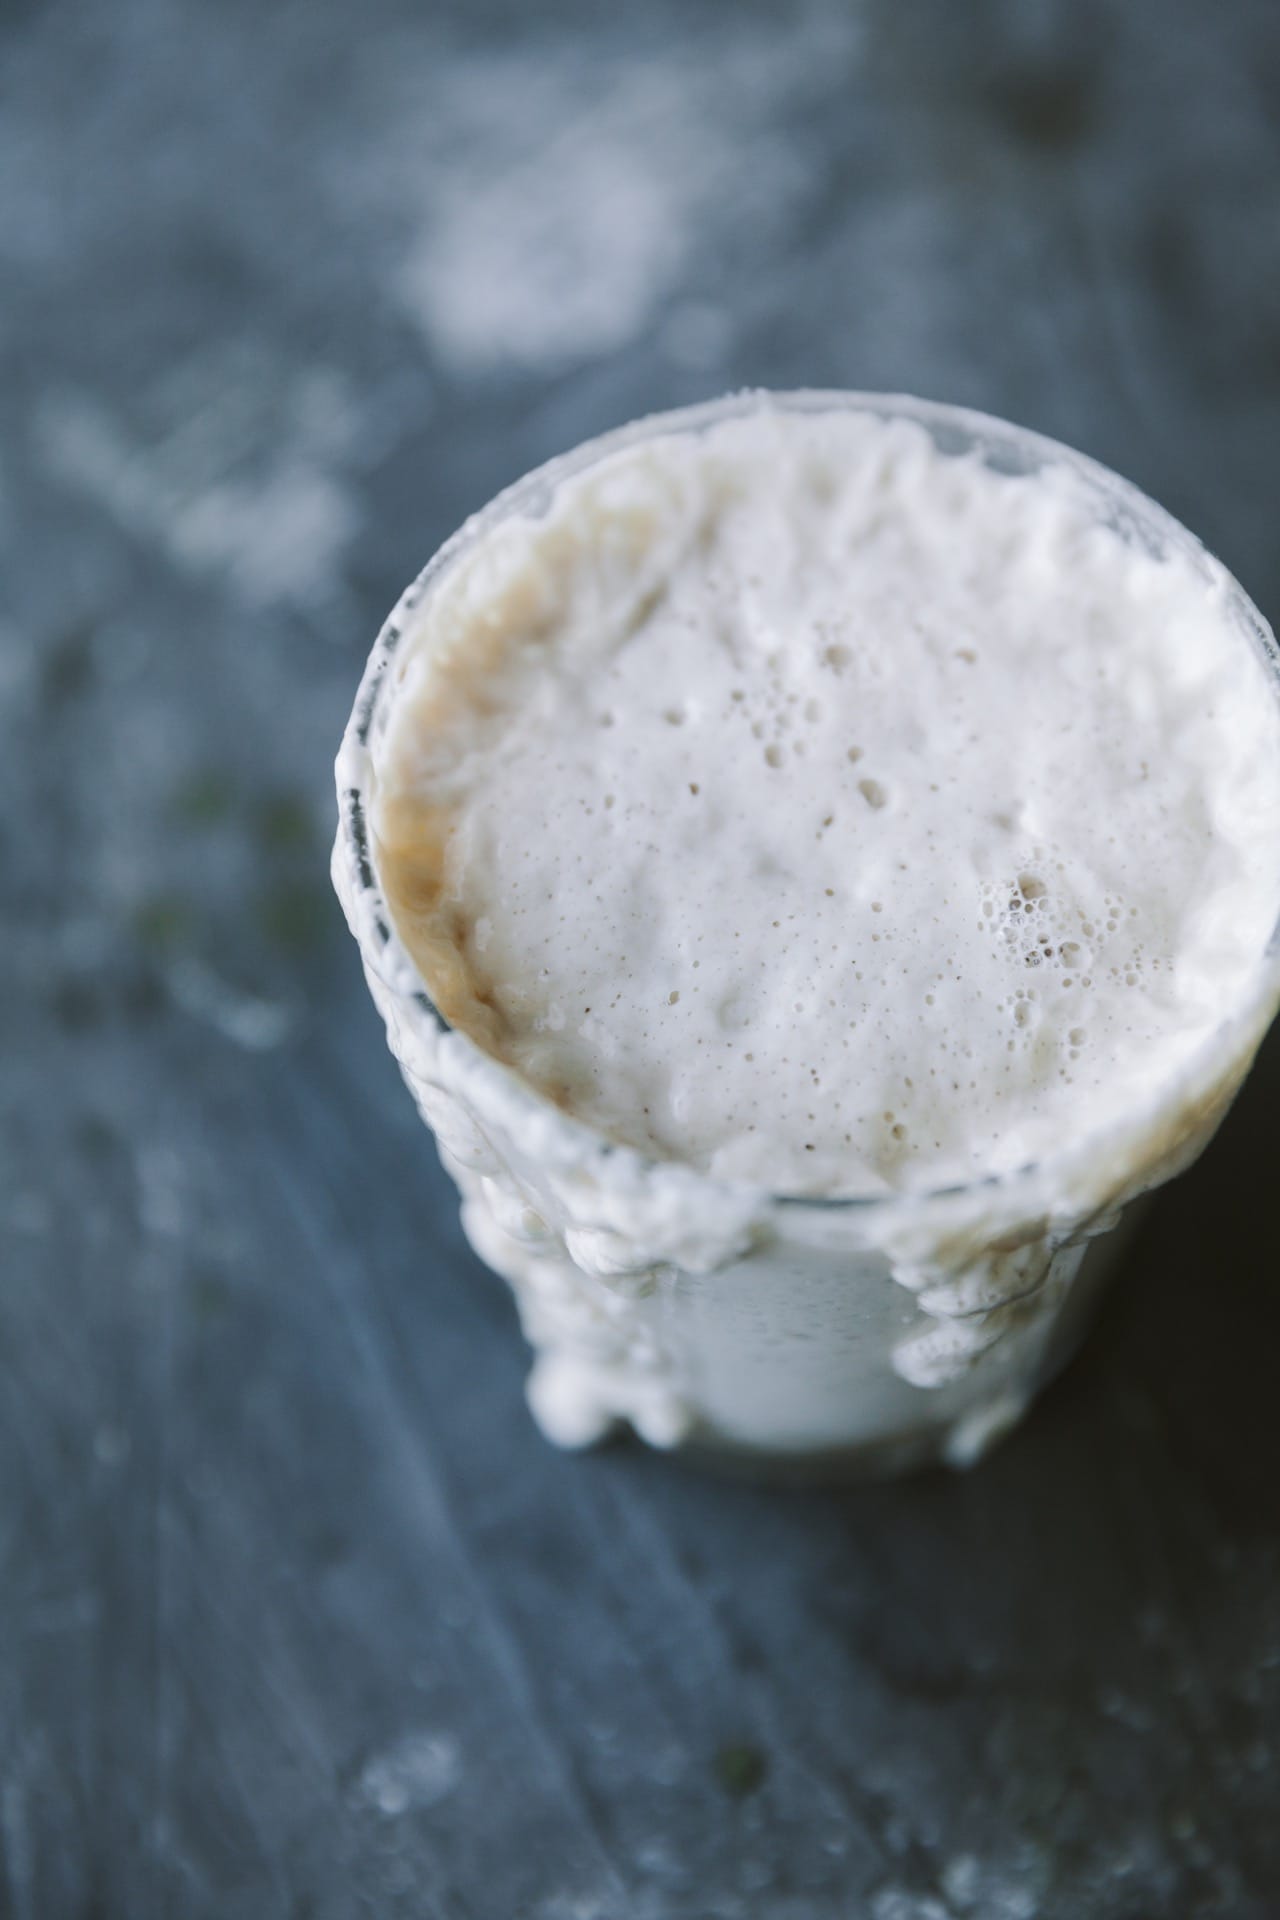
So, you just need to watch the starter. If it’s increased in volume, gone very bubbly, and then deflated a little, it means that your starter needs a feed. Also, if you see the hooch (liquid floating on top or center), you need to mix and feed your starter.
NOTE: At any point, the mixture smells bad, rotten and you see any pink or orange strands, discard the starter. Don’t discard just because you don’t see any bubbles or much growth on Day 4. You might have to give it more time.
Day 9
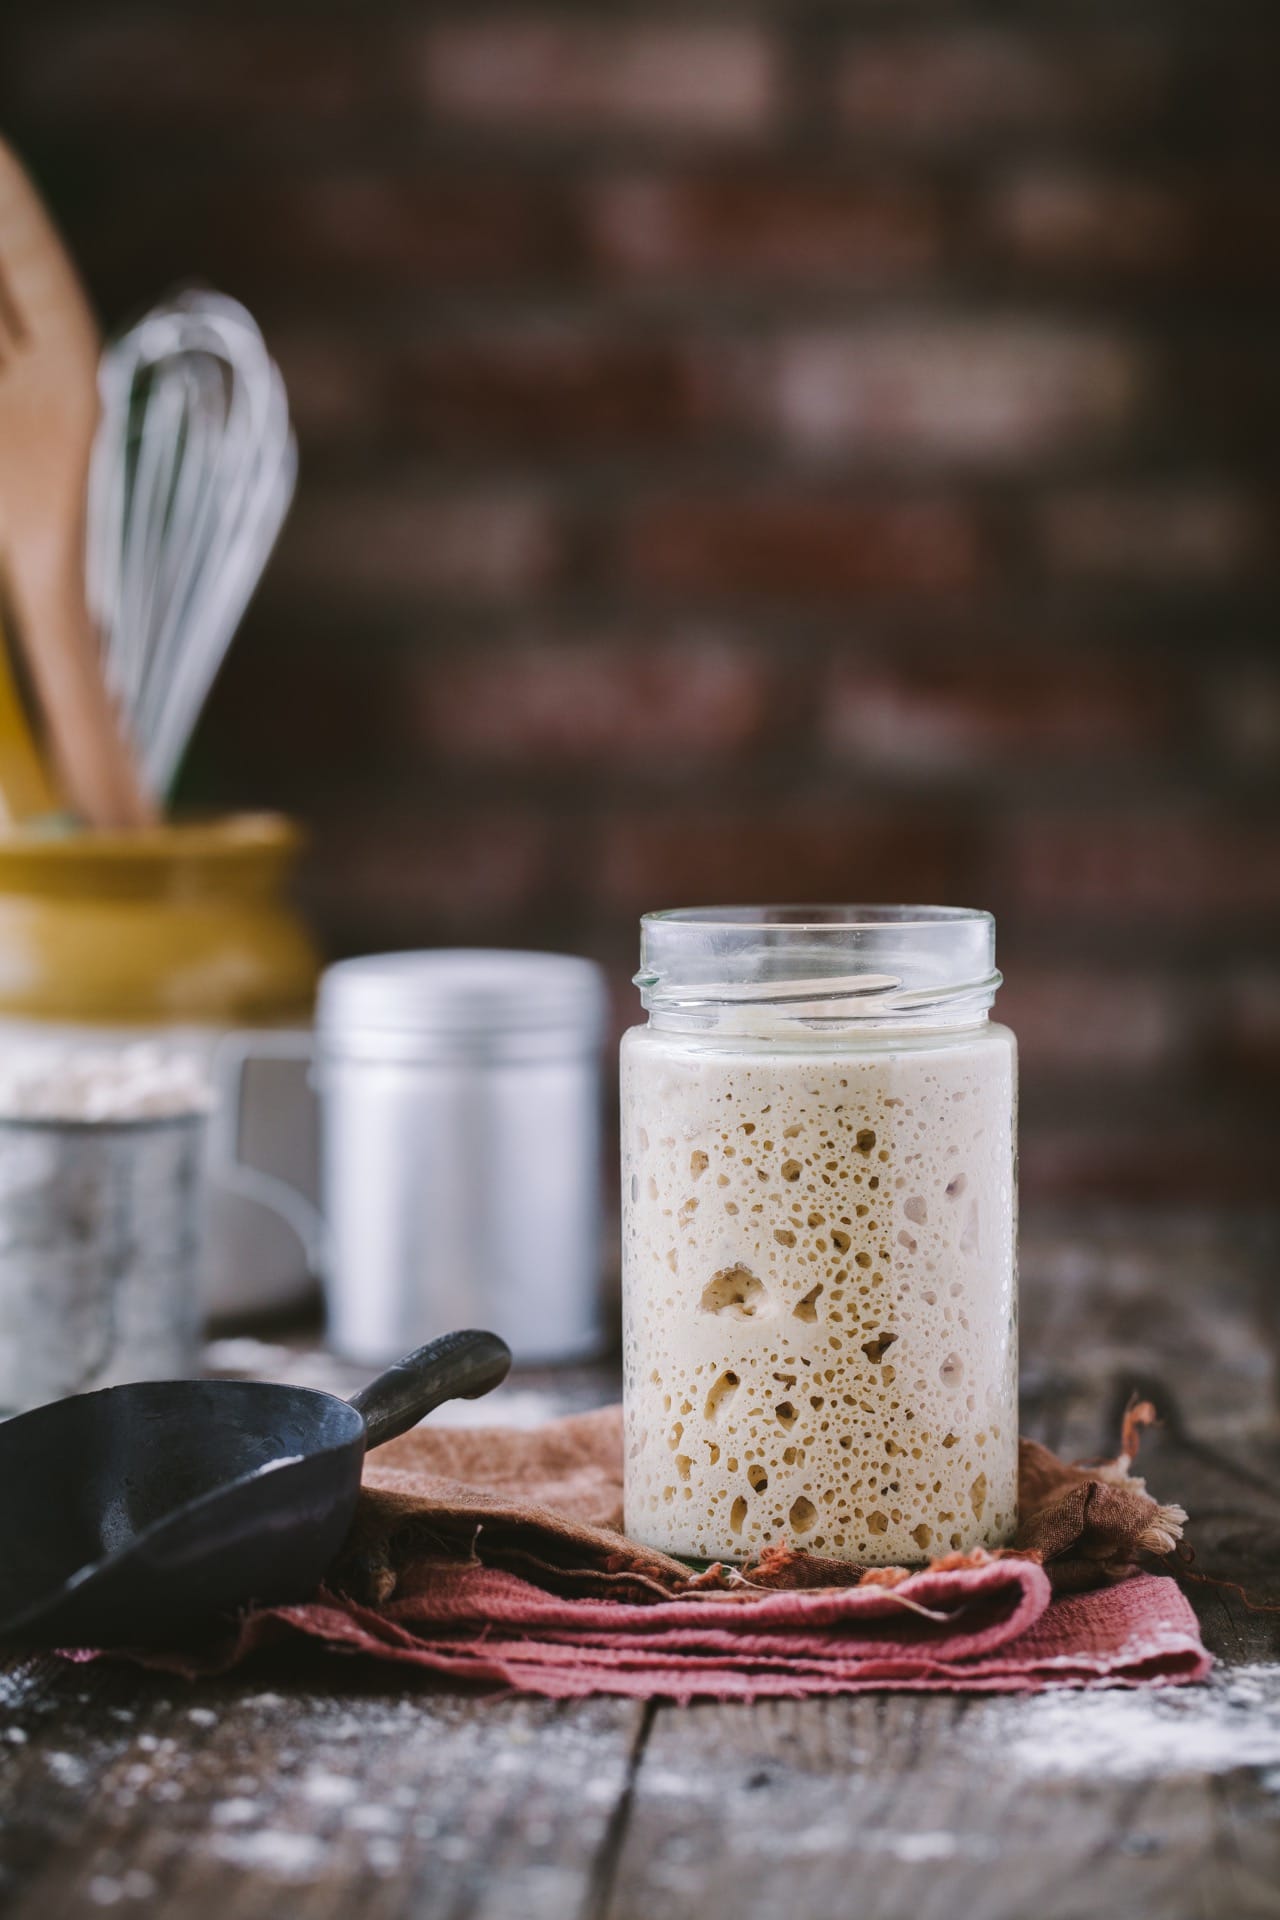
Your starter should be ready by now. It should have a good strength. You should see bubbles. It should smell acidic, yeasty or maybe like nail polish remover. It’s all good!
Do a floating test to check the strength of the starter. Take a clean spoon, scoop a little bit of the starter and drop it gently in a bowl of water. It should float. Otherwise the starter needs more time to strengthen.
No Bubbles!
If you don’t see any bubbles or any rise but it’s not gone bad, don’t give up and continue feeding. Continue discarding and feeding the starter using the same 50 gm/1.75 oz flour and 50 gm/1.75 oz filtered water.
Now, if your starter is ready but you don’t wish to bake on the same day, feed the starter, cover the bottle with an airtight lid and keep it in fridge. I kept my matured starter for a week in the fridge before I started baking.
Feeding the matured starter after keeping in the refrigerator:
- If the matured starter is kept in refrigerator, it needs to be fed only once a week.
- Just take out the bottle and let it be in the room temperature for a couple of hours. It will slowly come out of hibernation mode and bubbles will start to appear. Then, if you have lots of starter saved from the last feed, take out half of the starter and either discard or use it to make cracker, pancakes mixture, waffle batter or flat bread.
- Feed the starter with 50 gm/1.75 oz flour and 50 gm/1.75 oz filtered water. Leave it in the room temperature for a few hours before putting it back in the fridge.
Ever since I made my starter in April, I have been baking every week. I take out my starter from the fridge and leave it aside for 2 hours. Then, I use the discard to prepare the levain for the bread and I feed my original starter before keeping it back in the fridge.
I will share the concept of levain and my sourdough artisan bread recipe soon!
Maintaining Sourdough Starter:
Keep it in the fridge but don’t keep it at the back where it might go un-noticed and you forget to feed.
Feed it once a week. I did go once without feeding it for two weeks and it was still fine.
Summary of making sourdough starter:
DAY 1: Mix 60 gm/2.11 oz flour with 60 gm/2.11 oz filtered water along with 5 raisins in a clean glass jar. (I used all-purpose flour/maida)
DAY 2: You might or might not see some tiny bubbles forming. To the same jar, add 50 gm/1.75 oz flour and 50 gm/1.75 oz filtered water. Give it a mix and keep aside. You will probably notice hooch (read above to understand hooch better). If the weather in your area is warm, you might see the volume increasing in about 12 hours.On cold days, it might take more time. If the volume increases quickly, you might have to feed multiple times in a day. For some reason if you don’t see any bubbles at all on Day 3, place the jar in the oven (switched off) with just the light on. The heat from the light might help in fermenting the starter better.
DAY 3 to DAY 8: Discard half and feed 50 gm/1.75 oz flour with 50 gm/1.75 oz filtered water every day. Give it a mix and keep aside. I started feeding with wheat flour from Day 4.
DAY 9: Do the float test by dropping a tiny spoonful of the starter into a bowl of water. It should float. If it does, it’s ready. Feed your starter the same way, close the jar with a airtight lid and place it in the refrigerator.

Ingredients
- All purpose flour or wheat flour – 60 g first day and then 50 g at every feed
- Filtered or bottled water – 60 g first day and then 50 g at every feed
- 5 raisins – This is optional
Instructions
-
DAY 1 – In a clean dry glass or ceramic container, add 60 g all-purpose flour and 60 g filtered water along with 5 raisins.
-
Give it a mix with a clean spoon. Make sure there are no dryflour bits. Don’t cover the container with a tight lid. Just place a plate on top or a cover with a linen cloth.
-
If the weather is warm, keep it on your kitchen counter. To keep your starter a kick start, place it in the oven (turned off) just with the light on. But, don’t leave it in there for the whole night unless it’s really cold in your part of the world.
-
DAY 2 – Give your starter a mix with a clean dry spoon. Add 50 gm/1.75 oz all-purpose flour and 60 gm/2.11 oz filtered water. Mix it again and make sure there are no dry flour bits.
-
DAY 3 to DAY 8 – Discard half of the starter. Feed 50 gm/1.75 oz flour and 50 gm/1.75 oz filtered water. Follow the exact same step of mixing, scraping the sides and keeping it aside like you did on the first two days.
-
I started adding wheat flour from day 4 but you can continue with all purpose flour if you like.
-
DAY 9 – Your starter should be ready by now. It should have a good strength. You should see bubbles. It should smell acidic, yeasty or maybe like nail polish remover. It’s all good.
-
Do a floating test to check the strength of the starter. Take a clean spoon, scoop a little bit of the starter and drop it gently in a bowl of water. It should float. If it passes the float test, your starter is ready. If not, it needs more time.
-
If your starter is ready but you don’t wish to bake on the same day, feed the starter, cover the bottle with an airtight lid and keep it in fridge. I did exactly that.

