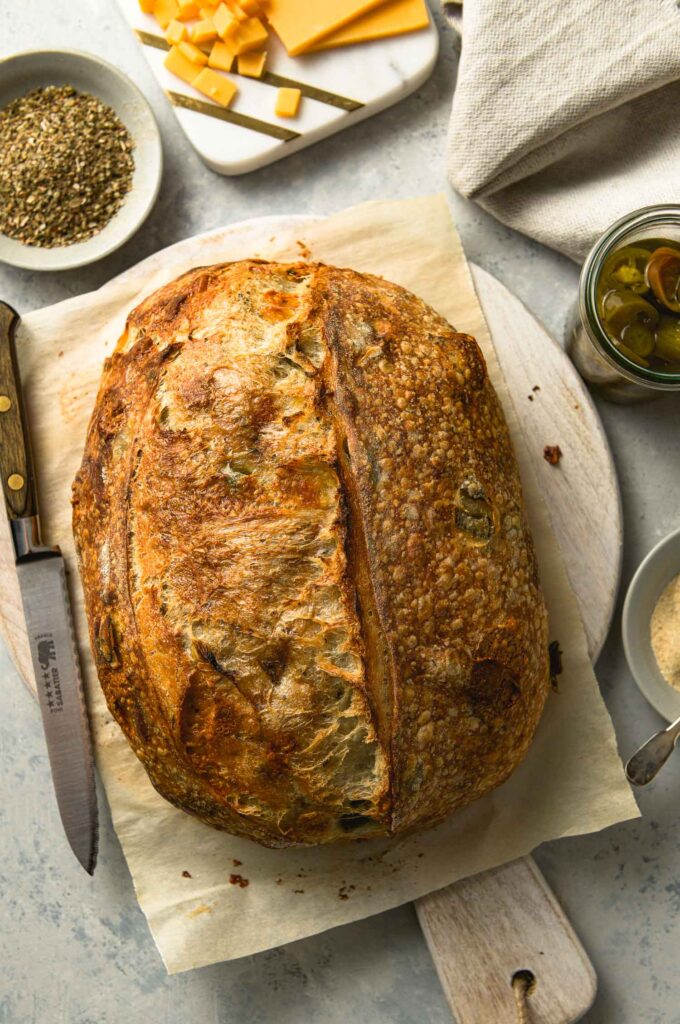
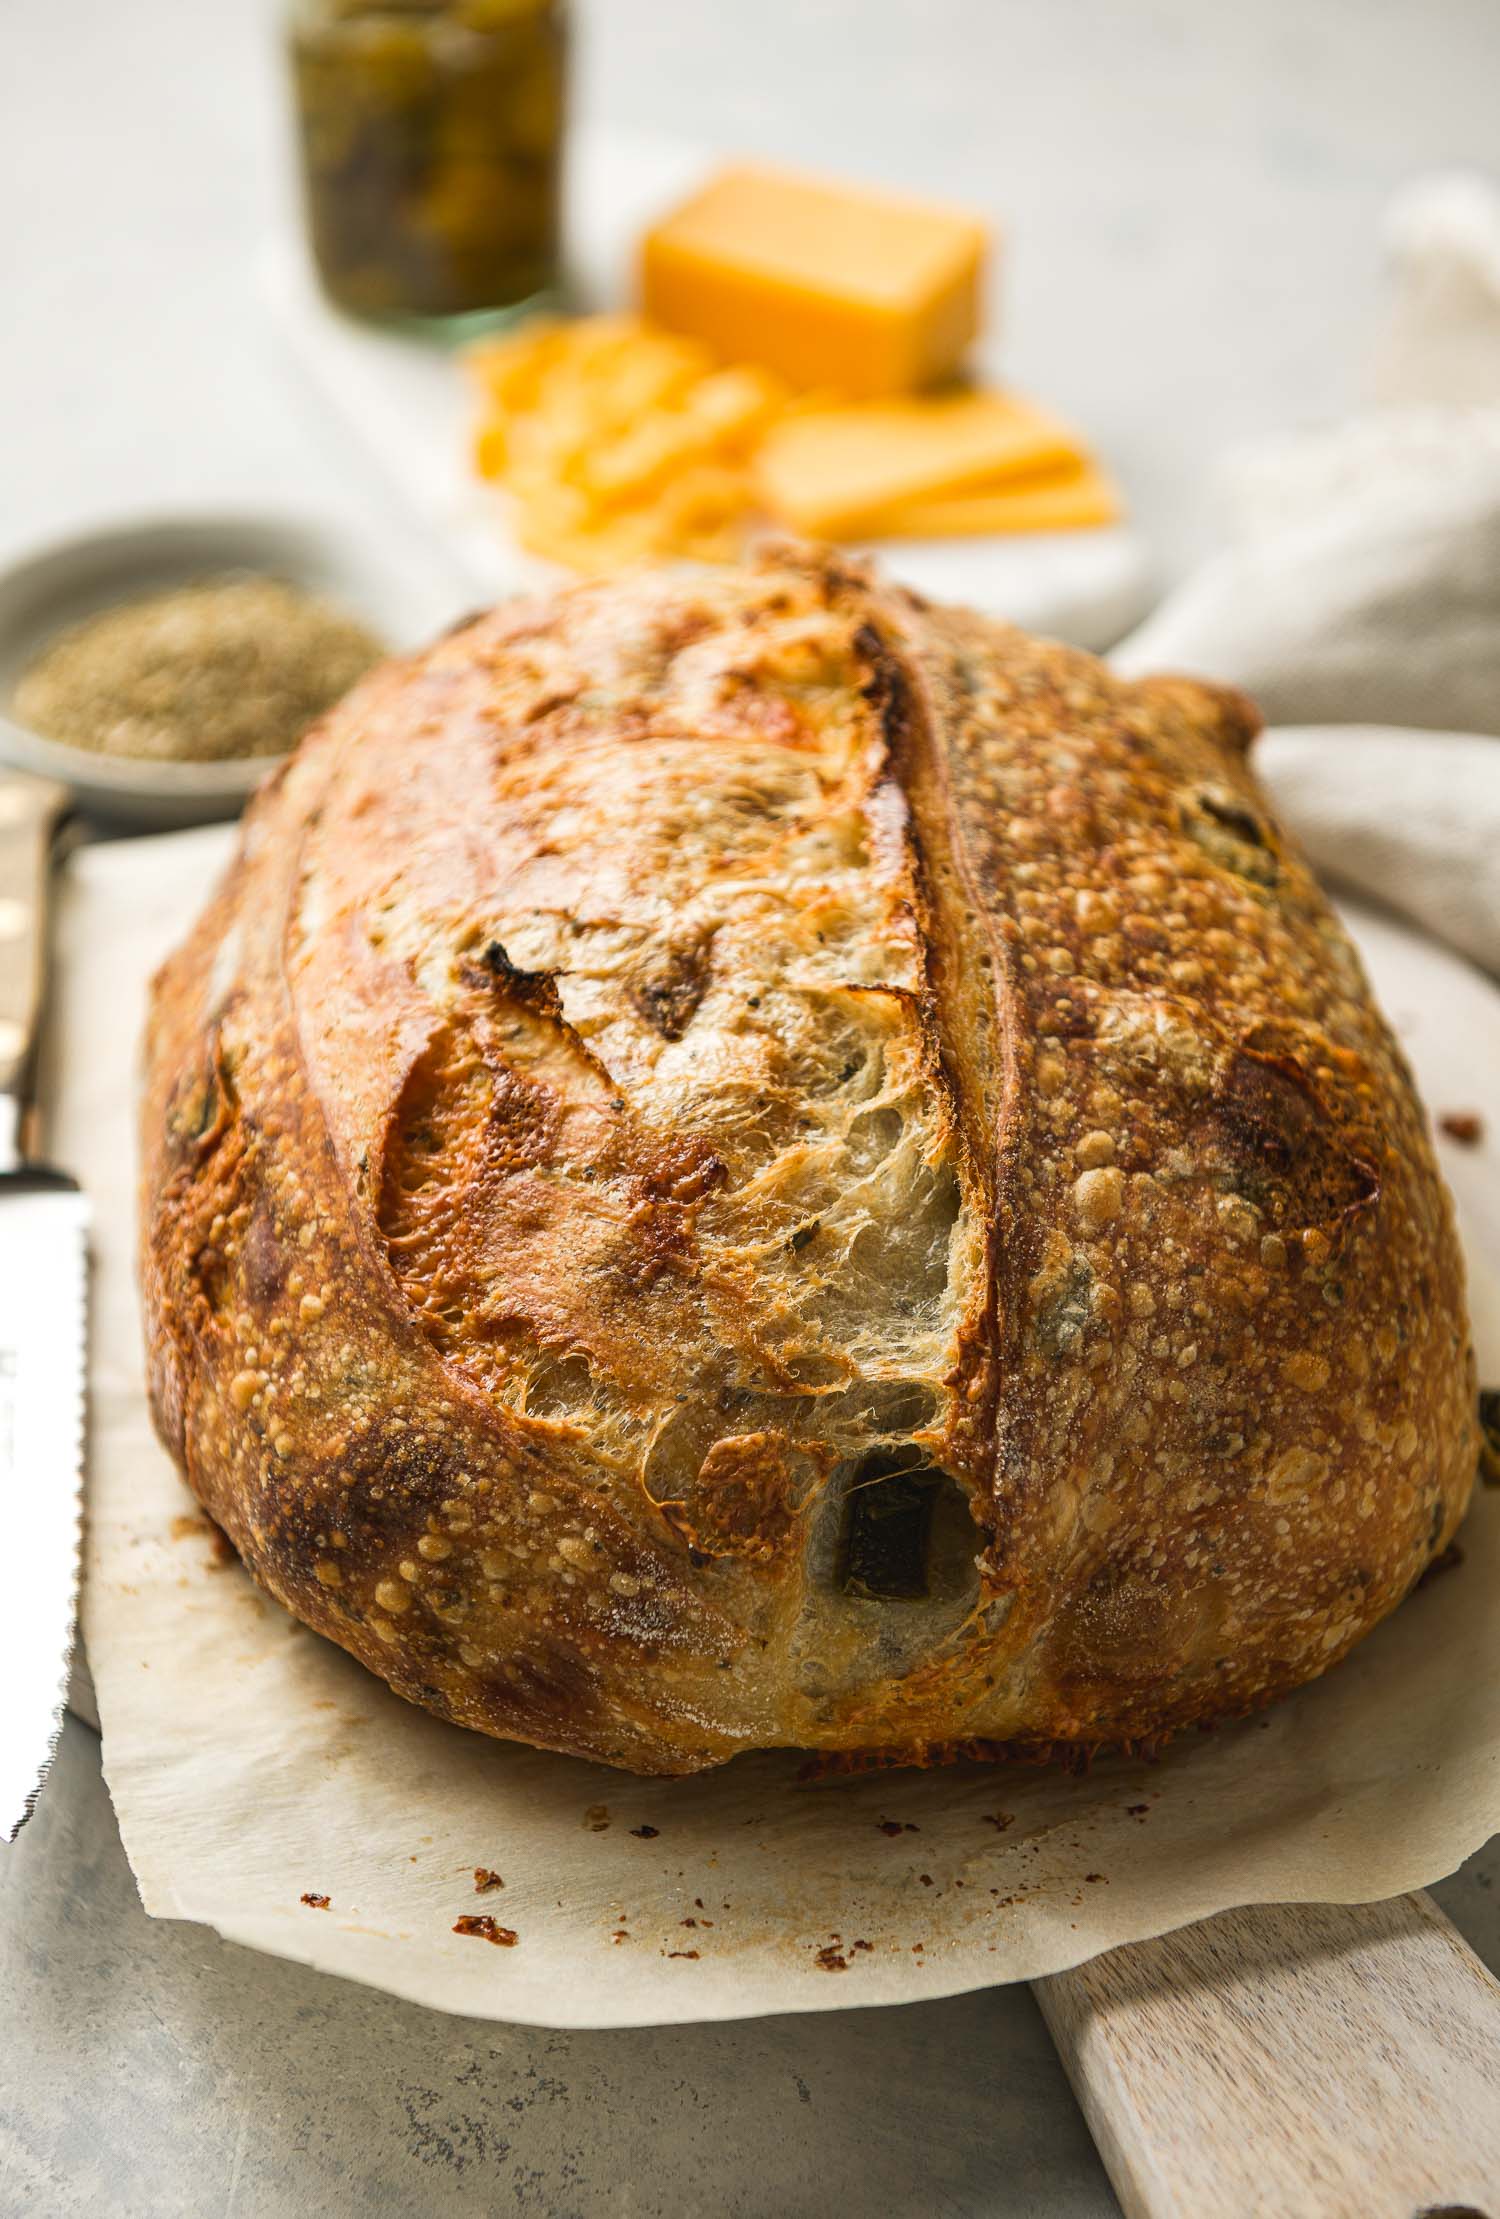
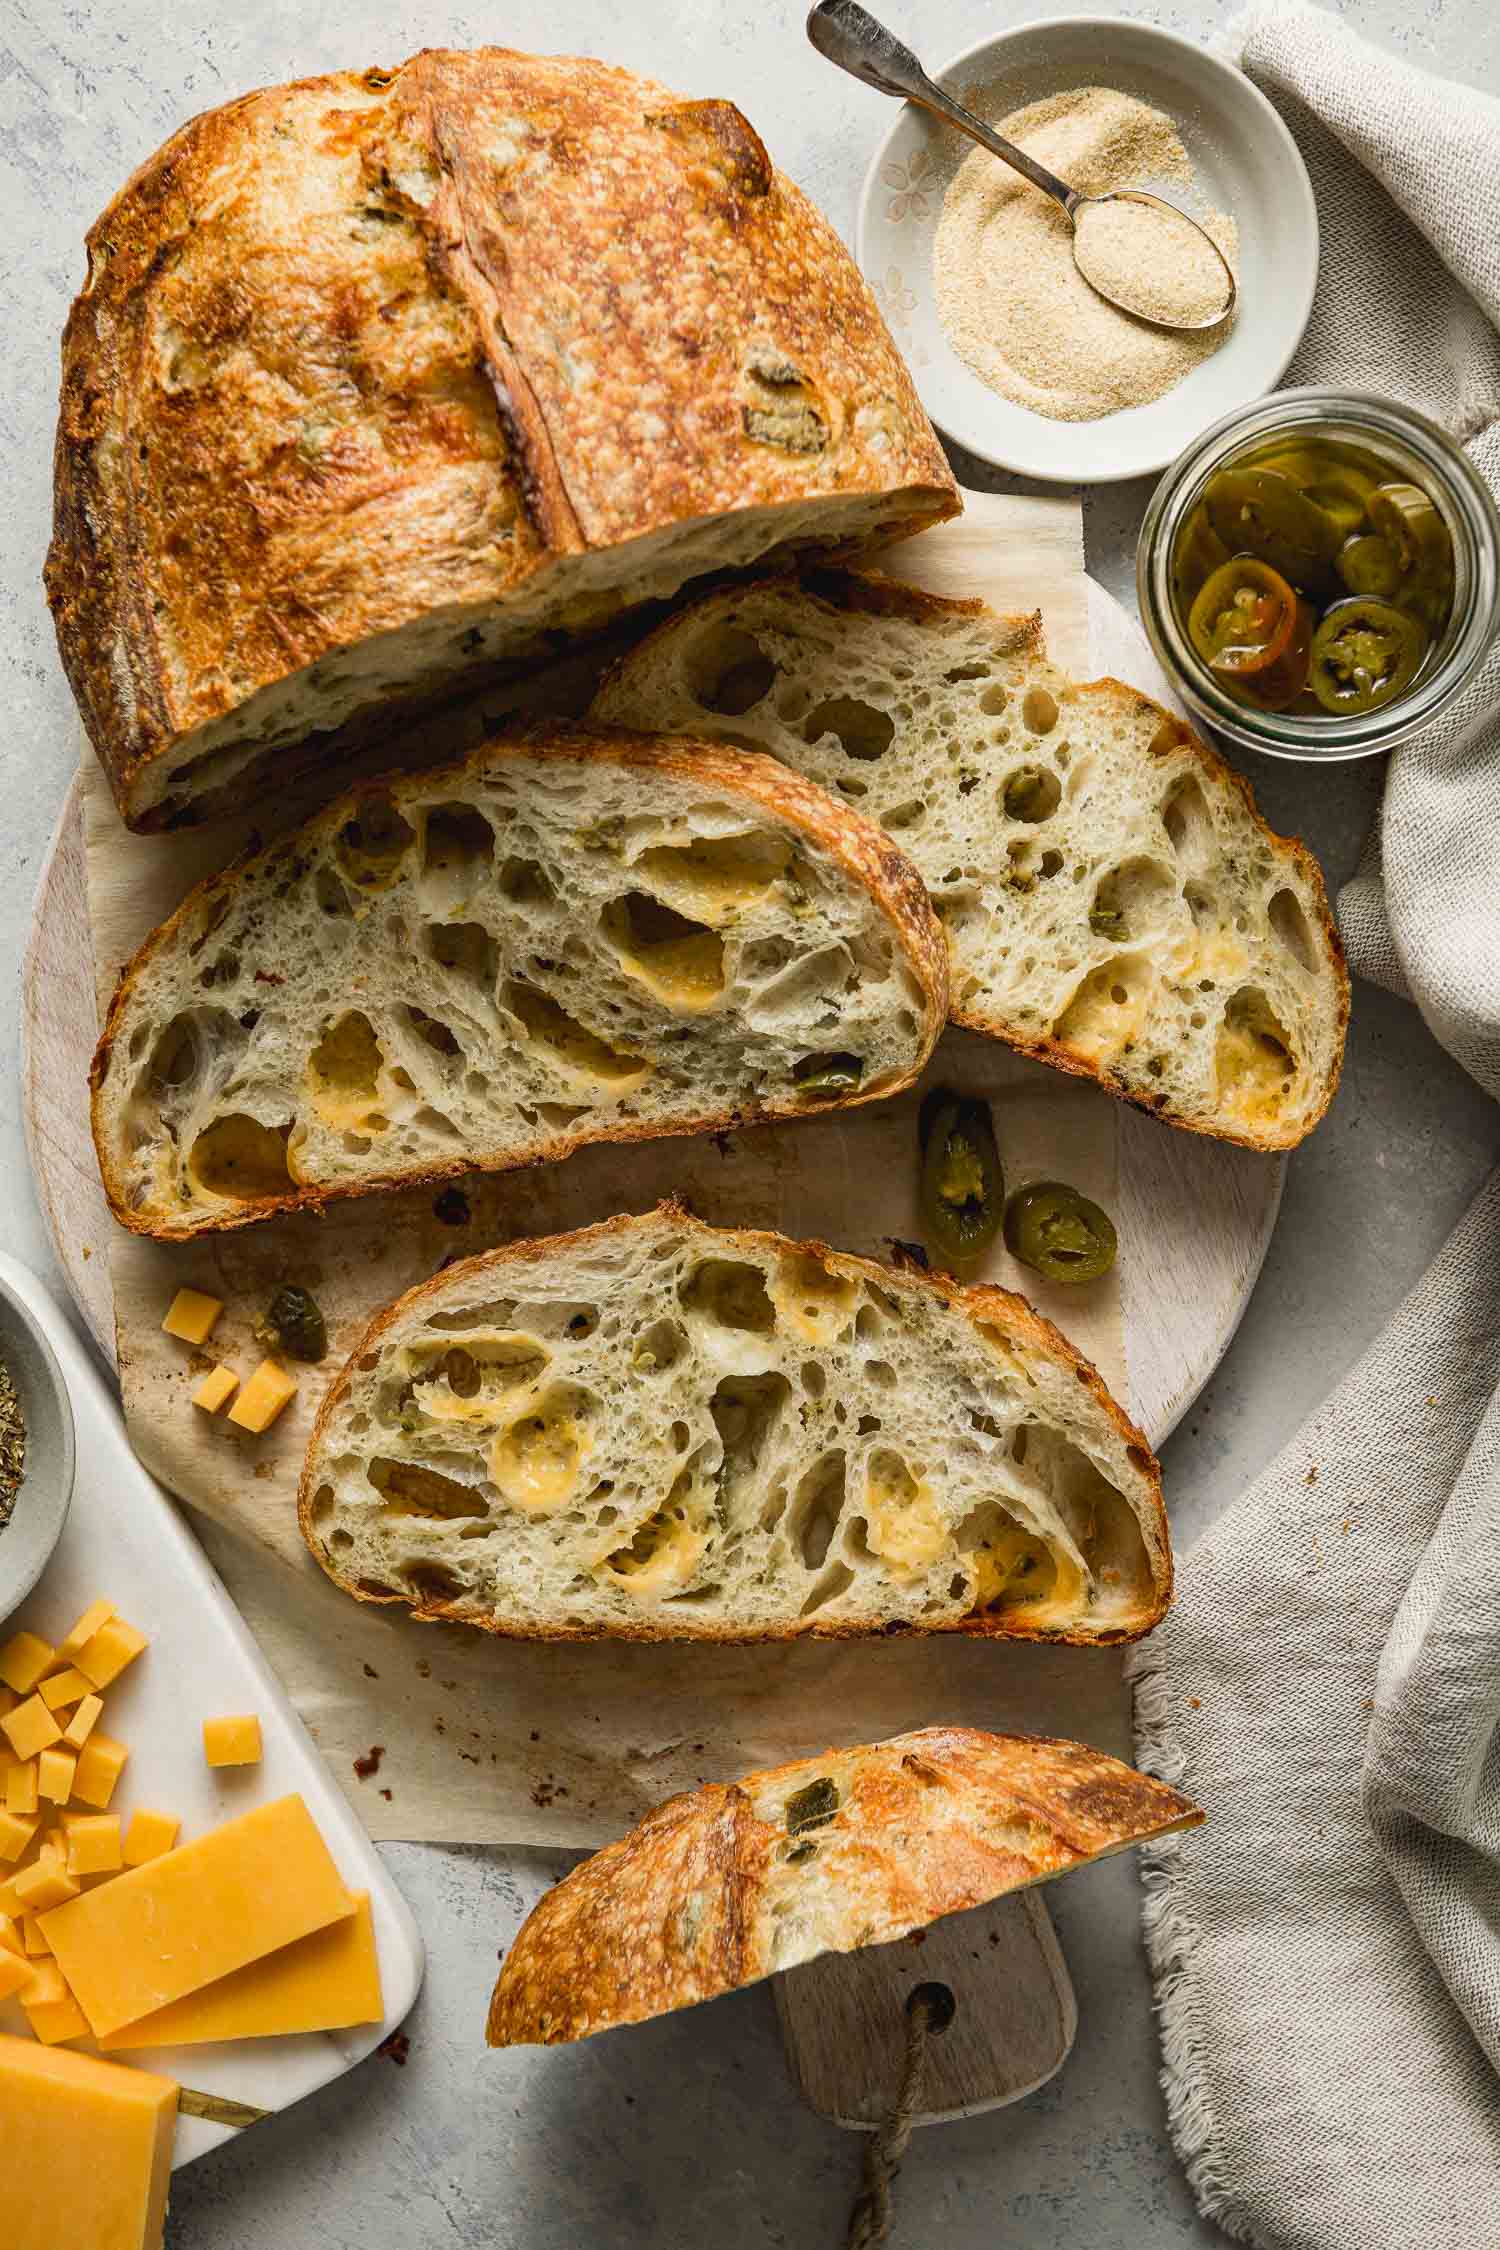
Jalapeño-Cheddar Sourdough Bread
This is my take on the oh, so popular jalapeño-cheddar bread that sourdough bakers have been raving about. Just a couple of simple seasonings makes the already-great original even better.

If the sourdough baking forums I have followed for years can be a reliable meter of baking trends then jalapeño-cheddar bread developed a cult following after the pandemic started last year. For the lucky who managed to stockpile flour, this flavor combination became the go-to for a savory take on classic sourdough bread.
During county stay-at-home orders I baked three to four sourdough loaves a week so I was a prime candidate for jumping on the jalapeño-cheddar bandwagon…but I resisted.

I just couldn’t get excited about it though I’m a fan of both ingredients. Instead, I churned out olive loaves, bread studded with figs and pancetta and some sweet bakes using chocolate and various dried fruit.
Then one day, my dear friend Georganne (who also happens to be my sourdough partner in crime) told me that I absolutely must try the jalapeño-cheddar combination. She raved about it–and understanding that she has a palate that will always be more discerning than mine, if she said something was good then I had no choice but to give this combination a try, too.

Unsurprisingly, Georganne was spot on. A slice of sourdough bread studded with jalapeño peppers and cheddar is a heavenly combination and though it’s perfect on its own, it’s taken my standard ham and cheese sandwich to new heights. My husband has been enjoying it pan con tomate style, a toasted slice rubbed with garlic then dipped in a grated tomato/olive oil/oregano mixture.
Sliced raw jalapeños or the pickled variety from a jar work well in this bread but like Georganne, I prefer the latter (I love pickled everything).
Ingredients
- 330 grams BREAD FLOUR
- 260 grams WATER
- 70 grams ACTIVE SOURDOUGH STARTER (100% HYDRATION)
- 6 grams KOSHER SALT
Add-Ins (Feel free to use more)
- 60 grams SHARP CHEDDAR, DICED
- 55 grams PICKLED JALAPEÑO PEPPERS, CHOPPED
- 3/4 – 1 teaspoon ONION POWDER (~3 GRAMS)
- 1 1/2 – 2 teaspoons DRIED OREGANO (~2 GRAMS)
Instructions
Day 1
-
Autolyse: Combine the flour and water in a bowl and mix well with your hand or a spatula. (Your dough might look rough and lumpy.) Cover with a towel or plastic wrap and let sit between thirty minutes to two hours.
-
Add starter: After autolyse (the dough will look smoother), add the sourdough starter and make sure to combine well by pressing it into the dough with your fingers and using the Rubaud method to properly incorporate. It helps to dip your hand in water before handling the dough. Cover and let sit for thirty minutes. (See Notes for link to Rubaud method). Bulk fermentation time starts now.
-
Add salt: Sprinkle the salt over the dough and using the same mixing method as described above for the starter. Cover and let rest thirty minutes.
-
Stretch and Fold 1 and 2: Take one portion of the dough, pull it up to the point of resistance and fold over itself. Repeat this until you’ve gone around the dough one full rotation. Follow this stretch and fold motion for two or three rotations then cover and let rest for thirty minutes. This is SF1. After thirty minutes repeat the stretch and fold process and wait another thirty minutes. (The dough will be extensible with the first couple of stretches/pulls but it will begin to pull back/resist with each stretch. This is to be expected.)
-
Lamination/Add-Ins: Spritz your work surface with a little water then turn the dough out on the counter. What was the surface of the dough in the bowl will now be the bottom. With wet hands gently pull the dough into a large rectangle. Don’t force it, it might be elastic and want to pull back but it will eventually stretch without tearing. Sprinkle most of the onion powder and oregano over the entire surface of the dough. Then scatter most of the cubed cheddar and chopped jalapeño all over the dough. Take one top and bottom corner of the dough and fold 2/3 of the way over. Sprinkle the remaining seasonings and add-ins over this new fold. Take the other top and bottom corner and fold over the first fold. Now take the bottom of the dough and fold over in thirds or fourths. Transfer to a glass baking dish spritzed with water seam side down. Cover with plastic wrap and let rest for 30 minutes.
-
Coil Folds 1 – 4: With wet hands pick up the dough from the center on each side and lift until one portion of the dough separates from the casserole dish and tuck it under the rest of dough. Rotate and repeat on the other side. Doing this twice. Repeat this coil fold session every thirty minutes until you see your dough gaining more structure between folds. Four coil folds were performed for the loaf pictured here but you may only need three depending on how your dough looks.
-
Bulk Fermentation: Bulk fermentation starts the moment you incorporate the sourdough starter into the dough. After the last coil fold allow the dough to finish bulk fermentation until it has grown by at least 50% to nearly double in size. The total time will vary with the temperature of the dough. If the dough is in the mid 70s F, you can expect bulk fermentation to take around 5 1/2 to 6 hours (much shorter with warmer temperatures). But watch your dough and look for signs. Watch for bubbles on top of the dough–it should also look lighter and airier with rounded edges.
-
Shape and Cold Retard: Dust your banneton (round or oval)with rice flour. Turn the dough out on a lightly floured surface. The top of the dough now becomes the bottom. Gently pull the dough to flatten it a little, fold in thirds and roll into a ball. Transfer the dough to the banneton seam side up, pinching the seams together. Cover with a plastic bag and refrigerate overnight.
Day 2: Bake Day (Morning or afternoon)
-
Put your dutch oven with the lid on in your cold oven and preheat to 475ºF. When your oven has reached temperature take your dough out of the refrigerator and flip it over on the counter lined with parchment paper. I like to use a small cutting board for this step (parchment paper between the banneton and the board) to make it easier to flip the dough out. Brush the excess flour from the top of the dough and score. Put on your oven mitts and take your dutch oven out of the oven. Remove the lid and gently lay the dough in the pot using the parchment paper. (You can lightly spritz the dough with water to help with oven spring but it’s not necessary.) Cover, return to oven and bake for 20 minutes. Reduce the oven temperature to 450ºF, remove the lid and bake for another 10 minutes. Reduce the temperature again to 425ºF and bake for a final 10 minutes. Cool on a wire rack for at least three hours before slicing.

